Top Ad 728x90

Thursday, October 29, 2026

Super Moist Pumpkin Streusel Bread

by


 🎃 Super Moist Pumpkin Streusel Bread


Yield: 2 loaves

Prep Time: 20 minutes

Bake Time: 50–60 minutes

Oven Temperature: 350°F (175°C)


🧡 Ingredients


Pumpkin Bread


- 3½ cups all-purpose flour

- 2 teaspoons baking soda

- 1 teaspoon baking powder

- 1 tablespoon pumpkin pie spice

- 1 teaspoon ground cinnamon

- 1 teaspoon salt

- ¾ cup + 2 tablespoons neutral oil

- 2 cups granulated sugar

- 1 cup packed brown sugar

- 4 large eggs

- 1 can (15 oz / 425 g) pumpkin purée

- ⅓ cup whole milk

- 2 teaspoons vanilla extract


Cinnamon Streusel Topping


- 1 cup all-purpose flour

- ½ cup packed brown sugar

- ¼ cup granulated sugar

- 1 teaspoon pumpkin pie spice

- ½ teaspoon ground cinnamon

- A pinch of salt

- 6 tablespoons salted butter, melted


For Preparing the Pans


- Softened butter, for greasing

- Turbinado sugar, for coating the pans


👩‍🍳 Instructions


1. Prepare the Oven and Pans


Preheat the oven to 350°F (175°C). Grease two standard loaf pans generously with softened butter. Sprinkle turbinado sugar over the bottoms and sides, tilting the pans to coat evenly.


2. Make the Streusel


In a medium bowl, combine the flour, brown sugar, granulated sugar, pumpkin pie spice, cinnamon, and salt.


Pour in the melted butter and stir with a fork until the mixture forms coarse, moist crumbs. Set aside.


3. Mix the Dry Ingredients


In a large bowl, whisk together the flour, baking soda, baking powder, pumpkin pie spice, cinnamon, and salt until evenly combined.


4. Mix the Wet Ingredients


In a separate large bowl, whisk the oil, granulated sugar, and brown sugar until well combined.


Add the eggs one at a time, whisking after each addition. Mix in the pumpkin purée, whole milk, and vanilla extract until smooth.


5. Combine the Batter


Gradually add the dry ingredients to the wet ingredients. Fold gently with a spatula until just combined and no large streaks of flour remain.


Important: Do not overmix, as this can make the bread dense instead of soft and tender.


6. Fill the Loaf Pans


Divide the batter evenly between the two prepared pans and smooth the tops.


Sprinkle the streusel generously over each loaf, distributing it evenly across the surface.


7. Bake


Bake for 50–60 minutes, or until the loaves are set and a toothpick inserted into the center comes out clean or with a few moist crumbs.


If the tops begin to brown too quickly, loosely cover them with aluminum foil for the remainder of the baking time.


8. Cool and Serve


Let the loaves cool in their pans for 15 minutes. Carefully remove them and transfer to a wire rack to cool further before slicing.


Cut into thick slices and enjoy the moist pumpkin crumb with its sweet, buttery cinnamon streusel topping.


🍂 Storage Tips


- Room temperature: Store in an airtight container for up to 3 days.

- Refrigerator: Store for up to 1 week.

- Freezer: Wrap individual slices or whole cooled loaves tightly and freeze for up to 3 months.


For the best texture, allow frozen slices to thaw at room temperature before serving.


Enjoy your homemade pumpkin streusel bread! 🎃🍞

Cinnamon Roll Pumpkin Bread

by


 Cinnamon Roll Pumpkin Bread 🤎🎃


Moist, soft pumpkin bread swirled with a rich cinnamon-sugar filling and topped with creamy vanilla cream cheese frosting. The perfect cozy fall treat! 🍂


INGREDIENTS


Pumpkin Loaf:

½ cup granulated sugar (100g)

½ cup packed brown sugar (100g)

½ cup neutral oil (110g)

2 large eggs, room temperature

1 cup pumpkin purée (180g)

1 tsp vanilla extract

¼ cup milk, room temperature (60g)

2 cups all-purpose flour (240g)

1 tsp baking powder

1 tsp baking soda

½ tsp salt

1 tsp pumpkin pie spice


Cinnamon Filling:

¼ cup softened butter (57g)

½ cup packed brown sugar (100g)

2 tbsp ground cinnamon

1 tbsp all-purpose flour (8g)


Cream Cheese Frosting:

4 oz cream cheese, room temperature (113g)

2 tbsp butter, room temperature (28g)

Powdered sugar, to taste

1 tsp vanilla paste

Ground cinnamon, for topping


INSTRUCTIONS


1. Prepare the pumpkin batter:

   Whisk the granulated sugar, brown sugar, and eggs until slightly pale and fluffy. Add the oil, pumpkin purée, vanilla extract, and milk. Mix until combined.


2. Add the dry ingredients:

   Sift in the flour, baking powder, baking soda, salt, and pumpkin pie spice. Gently fold until just combined. Do not overmix.


3. Make the cinnamon filling:

   Mix the softened butter, brown sugar, cinnamon, and flour until evenly combined. Use softened butter, not melted butter, so the filling holds its shape.


4. Layer the bread:

   Line a loaf pan with parchment paper. Spread a thin layer of pumpkin batter on the bottom. Alternate dollops of pumpkin batter and cinnamon filling until all the mixture is used, finishing with pumpkin batter on top.


5. Bake:

   Bake at 375°F (190°C) for 5 minutes. Reduce the temperature to 350°F (175°C) and bake for approximately 50 minutes, or until a toothpick inserted into the loaf comes out without wet batter. Check a few spots because the cinnamon layers can make testing tricky.


6. Make the frosting:

   Allow the pumpkin bread to cool completely. Beat the cream cheese, softene

Wednesday, October 28, 2026

My hubby asks for this every single week. Only 3 ingredients and costs next to nothing to make

by


 This 3-Ingredient Cheeseburger Soup is the kind of budget-friendly dinner that earns a regular spot in the weekly rotation, especially when life is busy and groceries feel expensive. It uses just ground beef, diced potatoes, and Velveeta to make a thick, creamy, filling soup that tastes cozy and satisfying without a long ingredient list. I love recipes like this on hectic weeknights because it costs next to nothing, feeds the whole family, and still feels like a warm comfort-food dinner.

Serve this soup with saltine crackers, toasted bread, or simple buttered toast for an easy meal that stretches even farther. If you want to round it out, a basic side salad or a few pickle slices on the plate work well and give it that classic cheeseburger-style contrast without adding much cost or effort.

3-Ingredient Cheeseburger Soup

Servings: 6

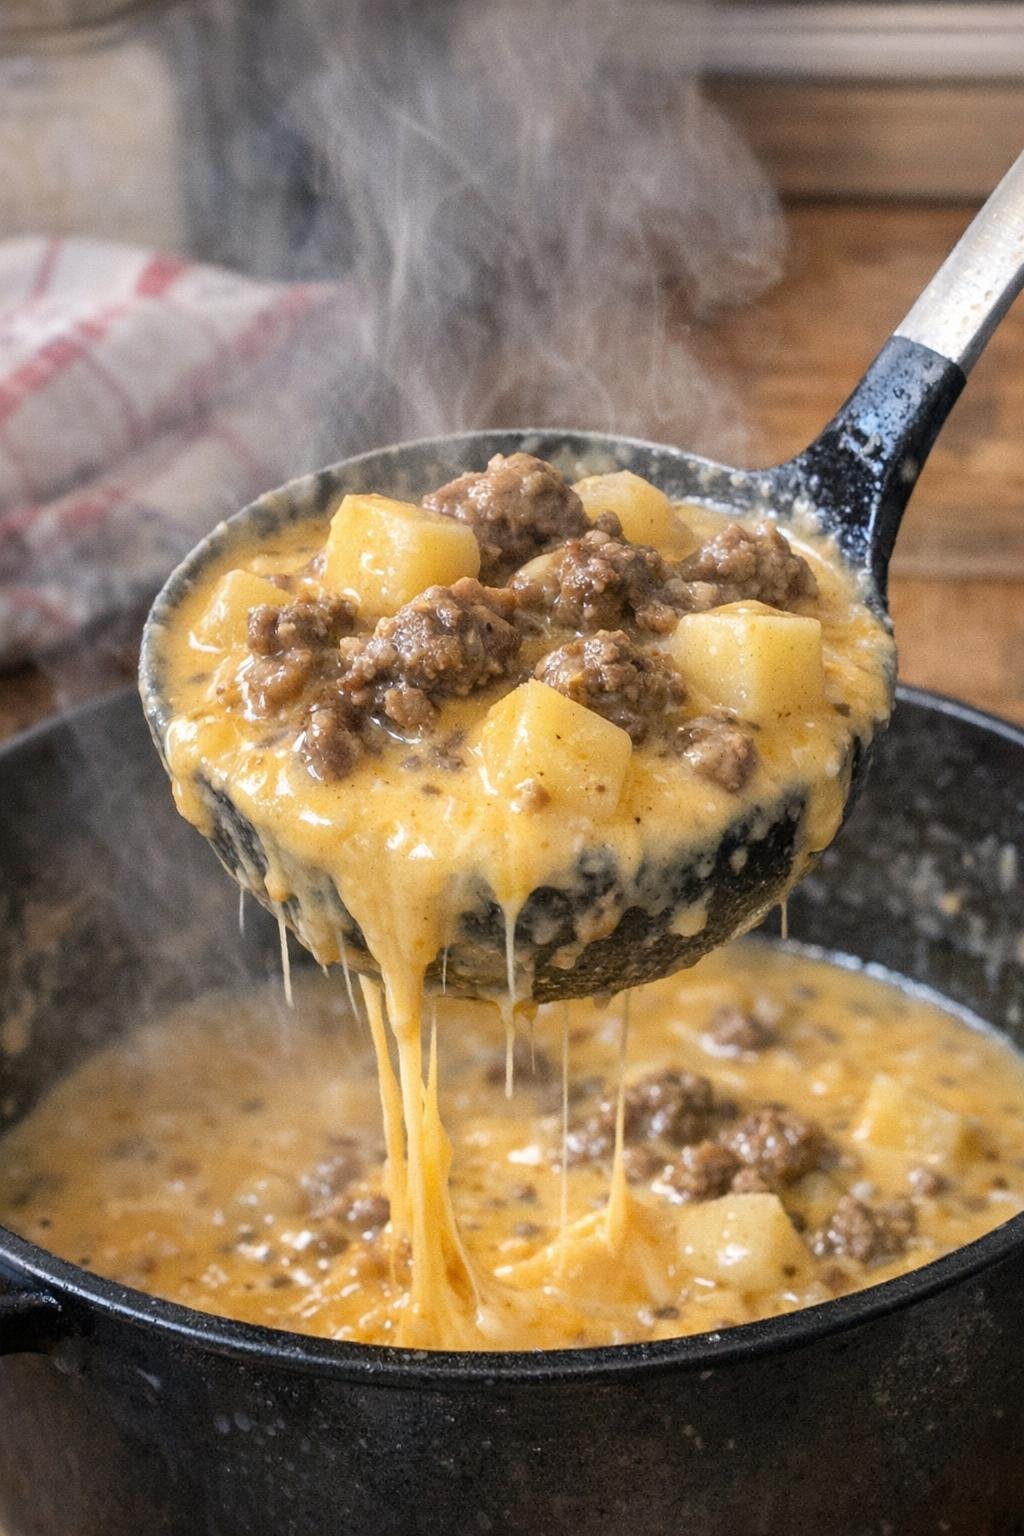
Creamy cheeseburger soup being lifted from a black pot

Ingredients

1 pound ground beef

4 medium potatoes, peeled and diced
16 ounces Velveeta, cubed
6 cups water
1 teaspoon salt, or to taste
1/2 teaspoon black pepper, or to taste

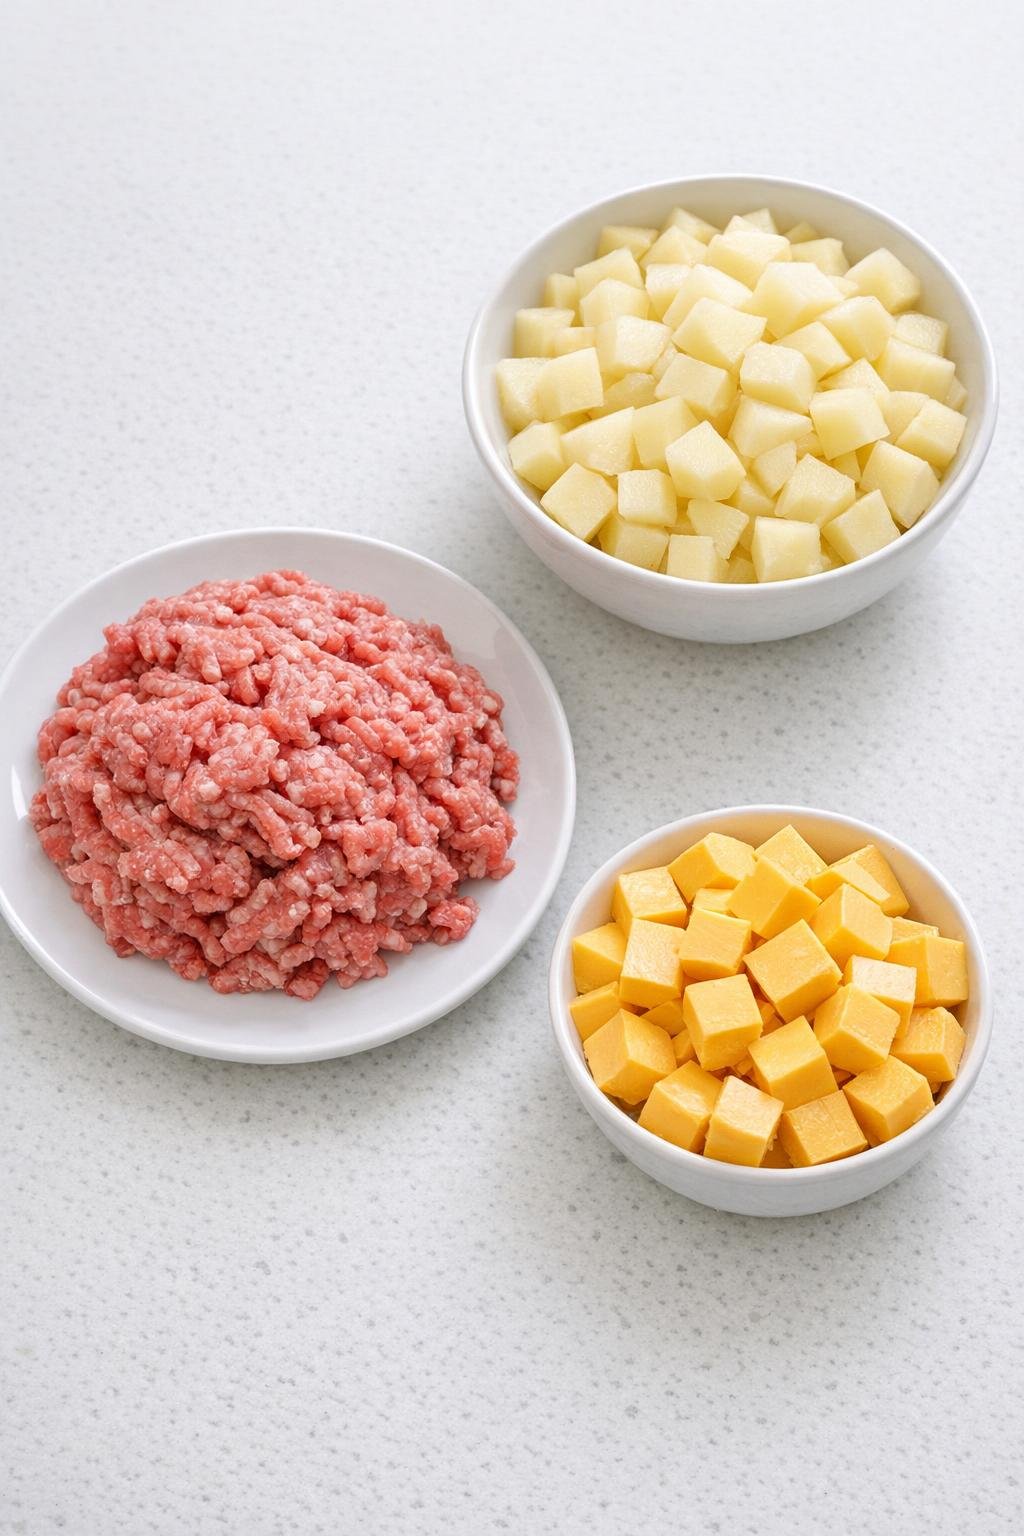
Ground beef, diced potatoes, and Velveeta on a kitchen counter

Directions

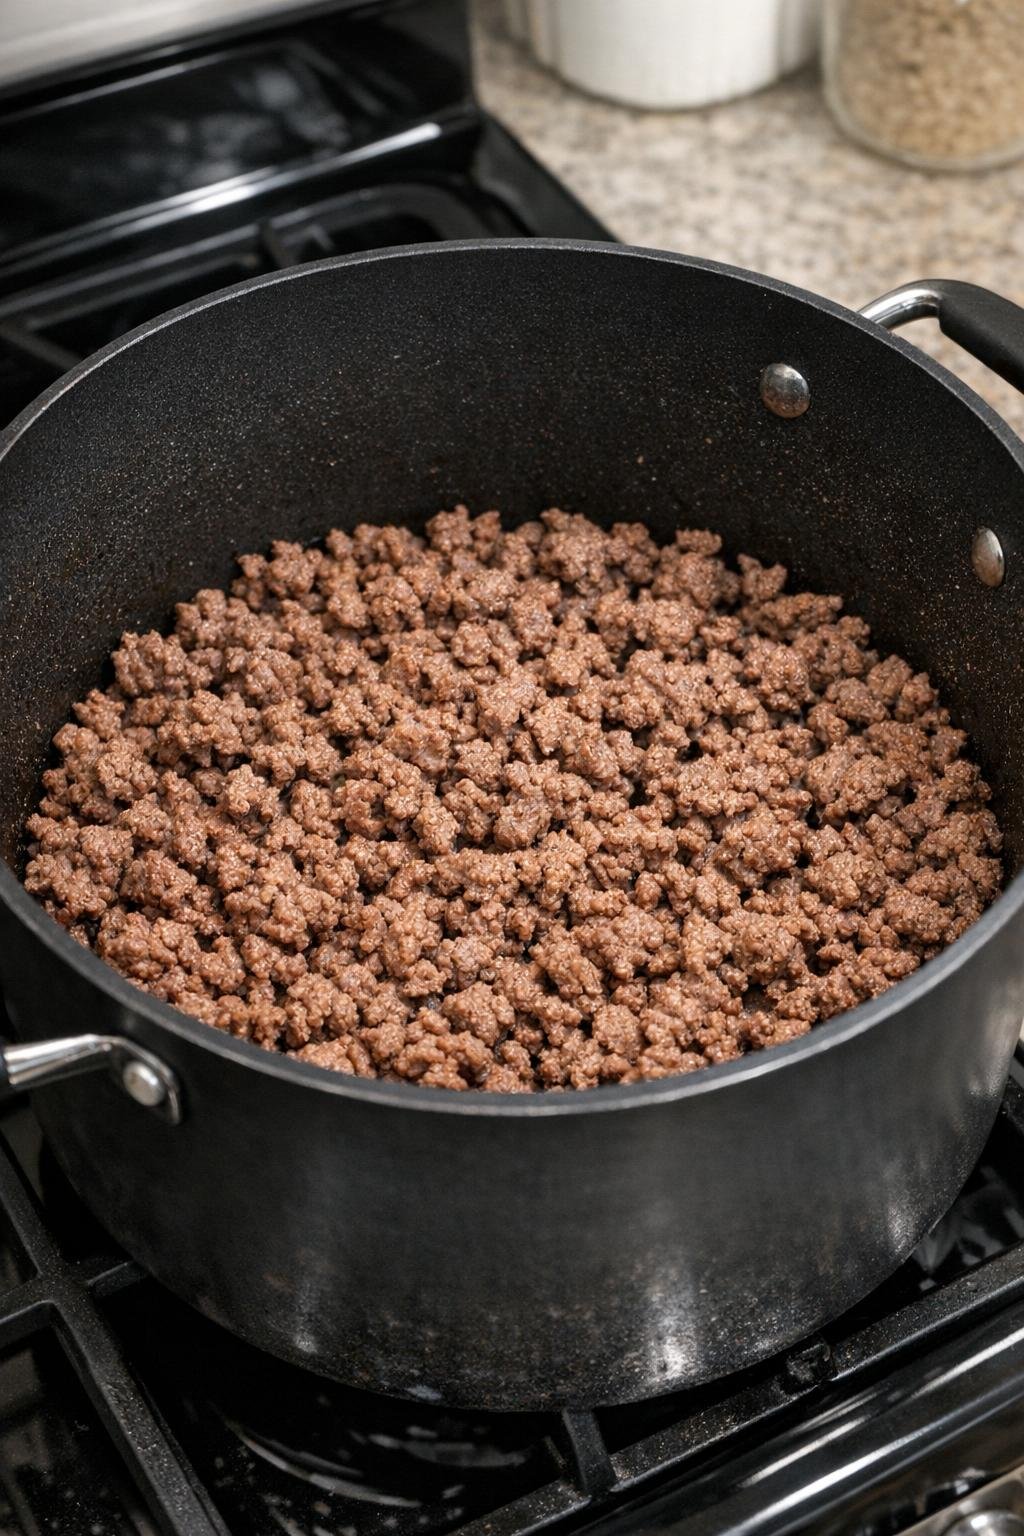
1. In a large pot or Dutch oven over medium heat, cook the ground beef until fully browned, breaking it up into small crumbles as it cooks. Drain off the excess grease and return the beef to the pot.

Browned ground beef crumbles in a large pot

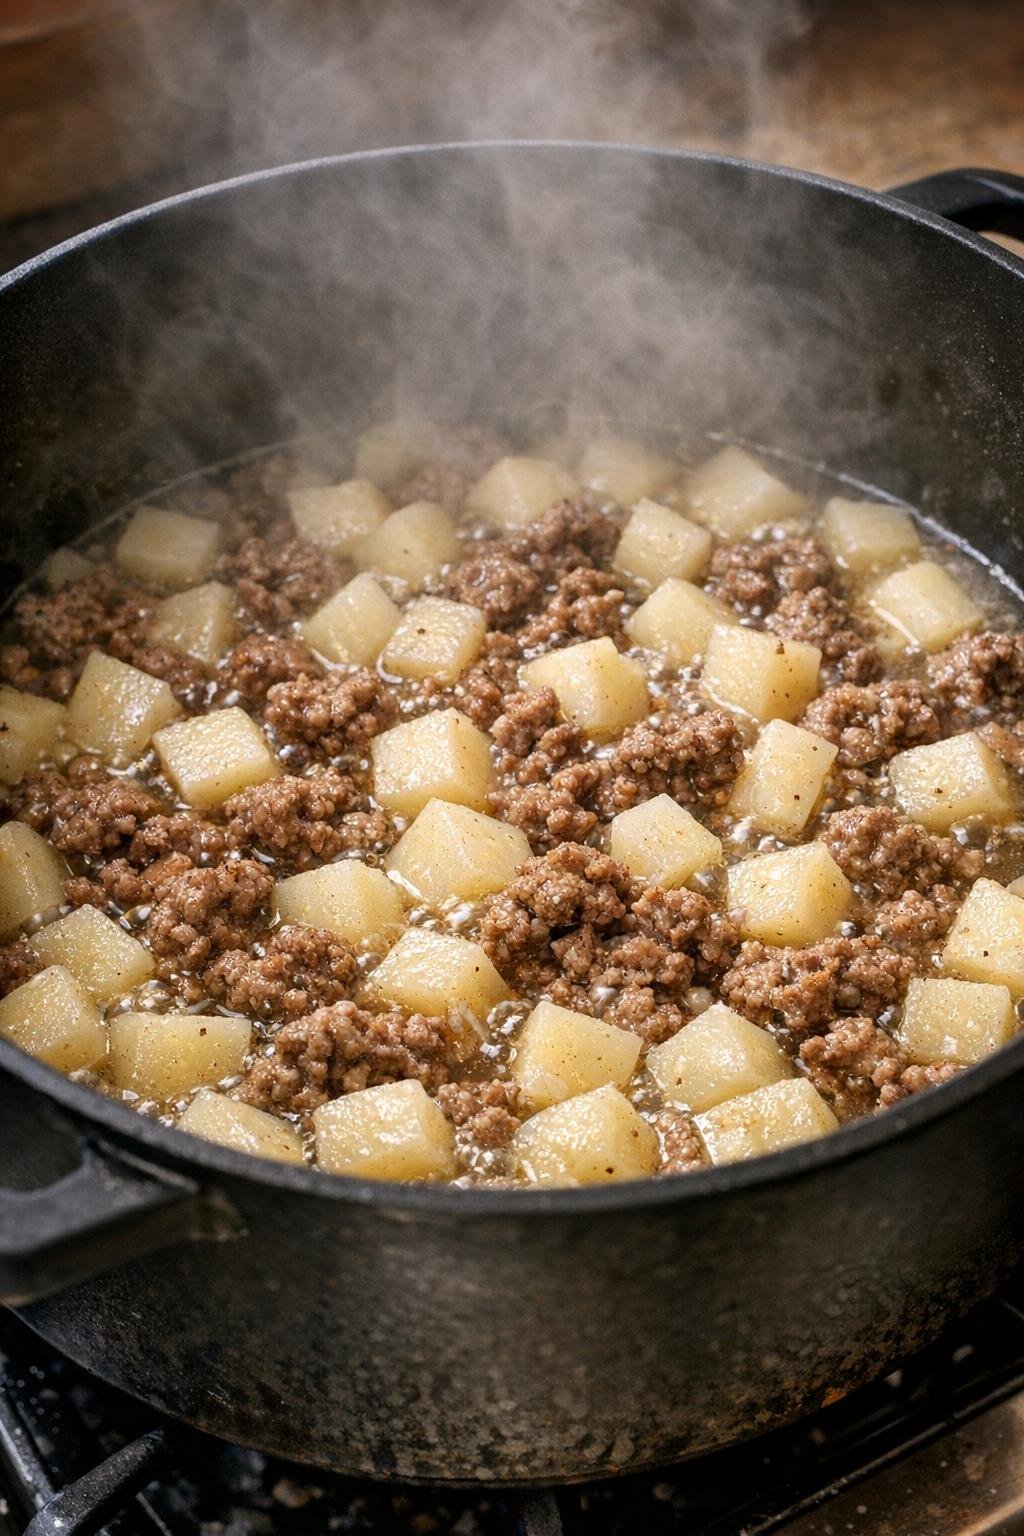
2. Add the diced potatoes, water, salt, and pepper to the pot. Bring to a gentle boil, then reduce the heat and simmer for 12 to 15 minutes, or until the potatoes are fork-tender.

Potatoes simmering with beef in broth in a black pot

3. Add the cubed Velveeta to the pot and stir until completely melted and smooth. Let the soup cook for another 2 to 3 minutes, stirring occasionally, until the broth is thick, golden, and creamy.

Velveeta melting into cheeseburger soup in a black pot

4. Taste and adjust the salt and pepper if needed, then ladle the soup into bowls and serve hot.

Final plated cheeseburger soup served hot with toast

Variations & Tips

Make it thicker: For an even thicker soup, let it simmer a few extra minutes after the cheese melts. The potatoes will release a little starch and help the broth turn extra creamy.

Budget tip: This is a great end-of-week dinner when you need something filling without another grocery run. Since it uses only three main ingredients plus water and seasonings, it keeps the total cost low while still making enough to feed a family.

Prep-ahead tip: Peel and dice the potatoes earlier in the day and keep them covered in cold water in the fridge until dinner time. That makes this recipe come together even faster on a busy night.

Leftover tip: Store leftovers in the refrigerator and reheat gently on the stove or in the microwave. If the soup thickens as it sits, stir in a small splash of water while reheating to loosen it back up.

My hubby asks for this every single week once it turns cold. Just 4 ingredients and one pot.

by


 This 4-Ingredient Crock Pot Taco Soup is the kind of cozy dinner that earns a regular spot on the cold-weather menu because it is hearty, filling, and wonderfully easy to throw together. It leans on simple pantry staples and the slow cooker to build that classic taco-inspired flavor with barely any fuss, making it perfect for busy family nights, game days, or anytime you want a warm supper waiting for you at the end of the day.

Serve this soup with tortilla chips, cornbread, or warm flour tortillas for dipping, and set out bowls of shredded cheese, sour cream, diced avocado, and sliced green onions so everyone can dress up their own serving. A simple green salad on the side balances the richness nicely, and if you are feeding a crowd, a pan of cheesy quesadillas makes a fun and easy partner.

4-Ingredient Crock Pot Taco Soup

Servings: 6

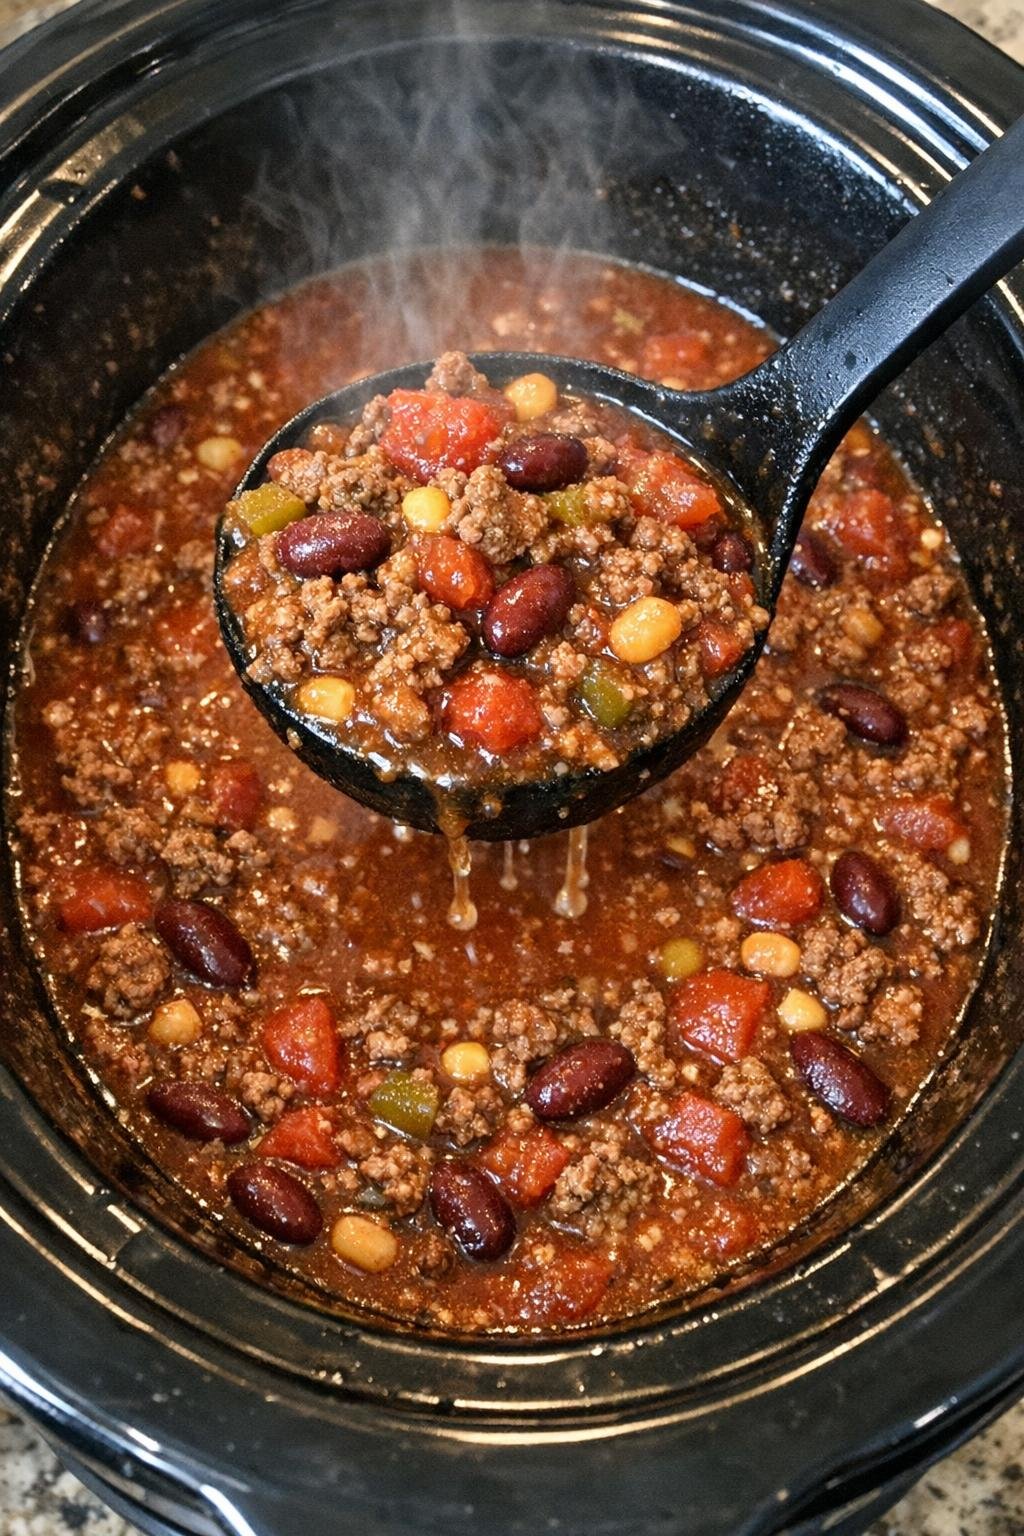
Thick taco soup in a slow cooker with ladle

Ingredients

1 pound ground beef

1 packet taco seasoning
1 can ranch style beans, undrained
1 can diced tomatoes with green chiles, undrained

Directions

1. In a skillet over medium heat, cook the ground beef until fully browned, breaking it into small crumbles as it cooks. Drain off any excess grease.

2. Transfer the cooked beef to the slow cooker, then stir in the taco seasoning, ranch style beans with their liquid, and diced tomatoes with green chiles with their liquid.

3. Cover and cook on low for 4 to 6 hours or on high for 2 to 3 hours, until the flavors have blended and the soup is hot and thick.

4. Ladle into bowls and serve warm with your favorite toppings, if desired.

Variations & Tips

For a milder bowl: If your family prefers less heat, use plain diced tomatoes instead of diced tomatoes with green chiles. You will still get plenty of flavor, and picky eaters often enjoy this version more.

To stretch it further: Add a cup or two of beef broth, frozen corn, or an extra can of beans if you want more servings. This is a handy trick when you have extra people at the table or want leftovers for lunch.

For easy topping night: Set out little bowls of shredded cheddar, sour cream, crushed tortilla chips, and avocado so everyone can build their own perfect bowl. This makes dinner feel a little more special without adding much work.

Make-ahead tip: Brown the beef the night before and keep it in the refrigerator, then dump everything into the slow cooker in the morning. It saves time on busy days and makes this recipe even easier.

Freezer note: Leftovers freeze well once cooled. Spoon the soup into airtight containers and freeze for up to 3 months, then thaw in the refrigerator and reheat gently on the stove or in the microwave.

Grandma Helen calls this her 4 ingredient secret. One batch and the whole pan vanished before dessert.

by


 Some recipes earn their place in the family binder because they are dependable, quick, and made from pantry basics, and this is exactly that kind of bake. With just a handful of everyday ingredients and a few minutes of mixing, you get a rich, sweet treat that feels a little nostalgic, like something tucked onto the counter for after-school snacking or carried to a church potluck in a well-loved glass dish.

These bars are wonderful on their own with a cold glass of milk or a hot cup of coffee, but they also make a cozy dessert when served slightly warm with a scoop of vanilla ice cream. For a little extra contrast, set them out with fresh strawberries or sliced bananas, or pack them into lunchboxes alongside apple slices for an easy homemade sweet.

4-Ingredient Peanut Butter Blondies

Servings: 9 squares

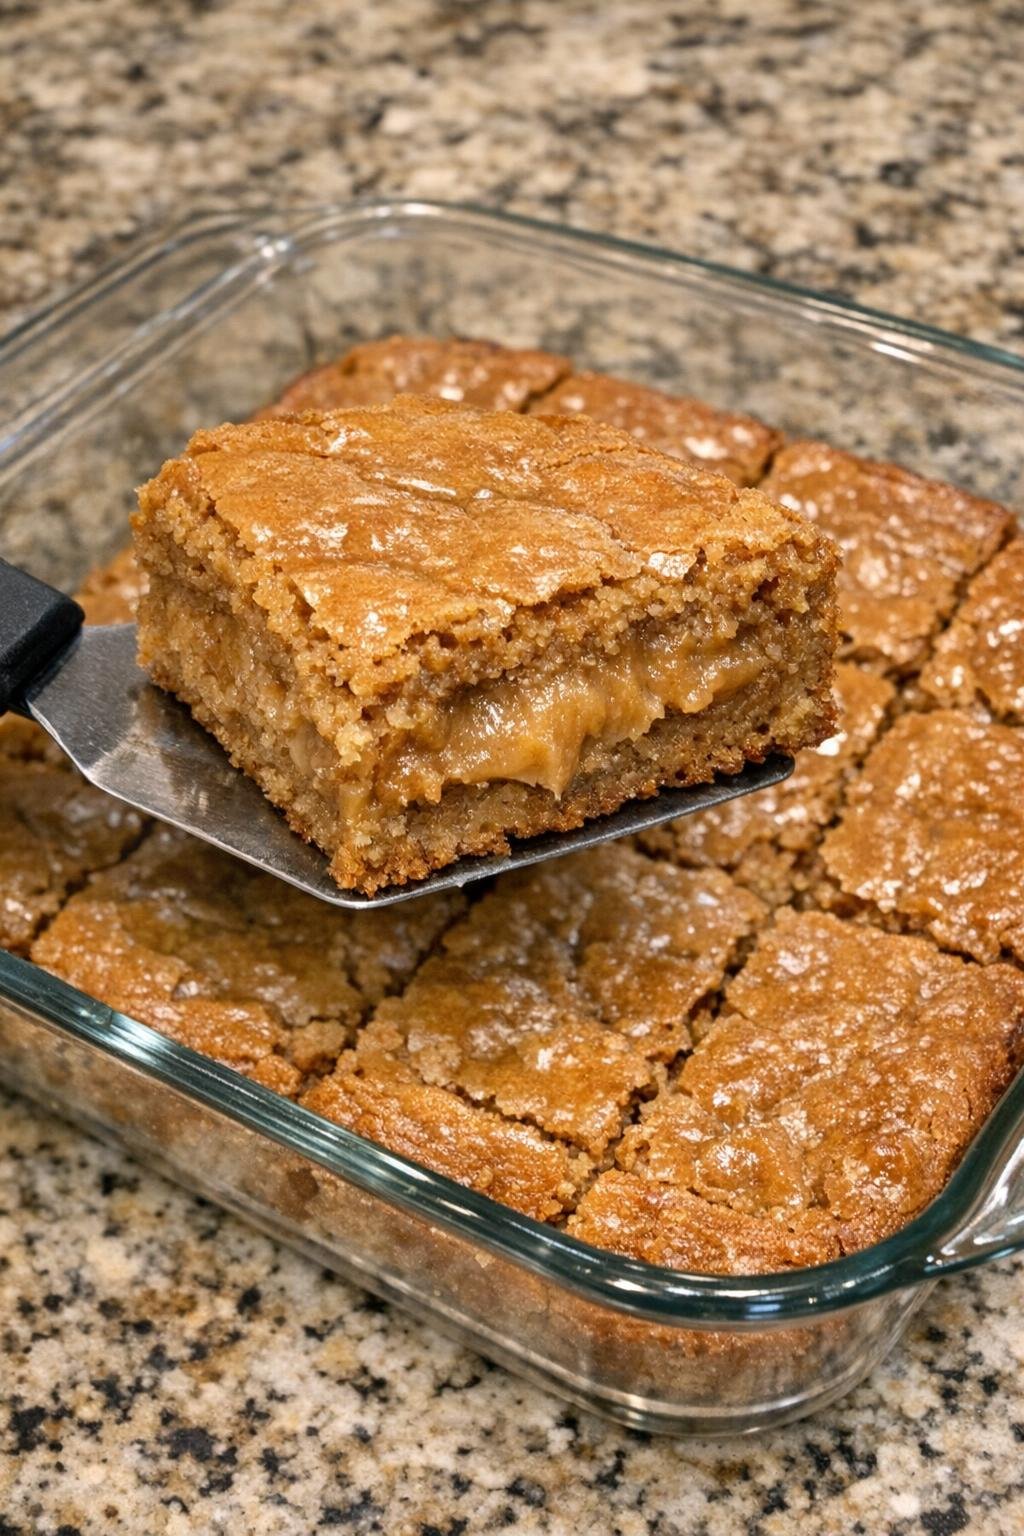
Peanut butter blondie squares in a glass baking dish

Ingredients

1 cup creamy peanut butter

1 cup packed brown sugar
1 large egg
1/2 cup all-purpose flour

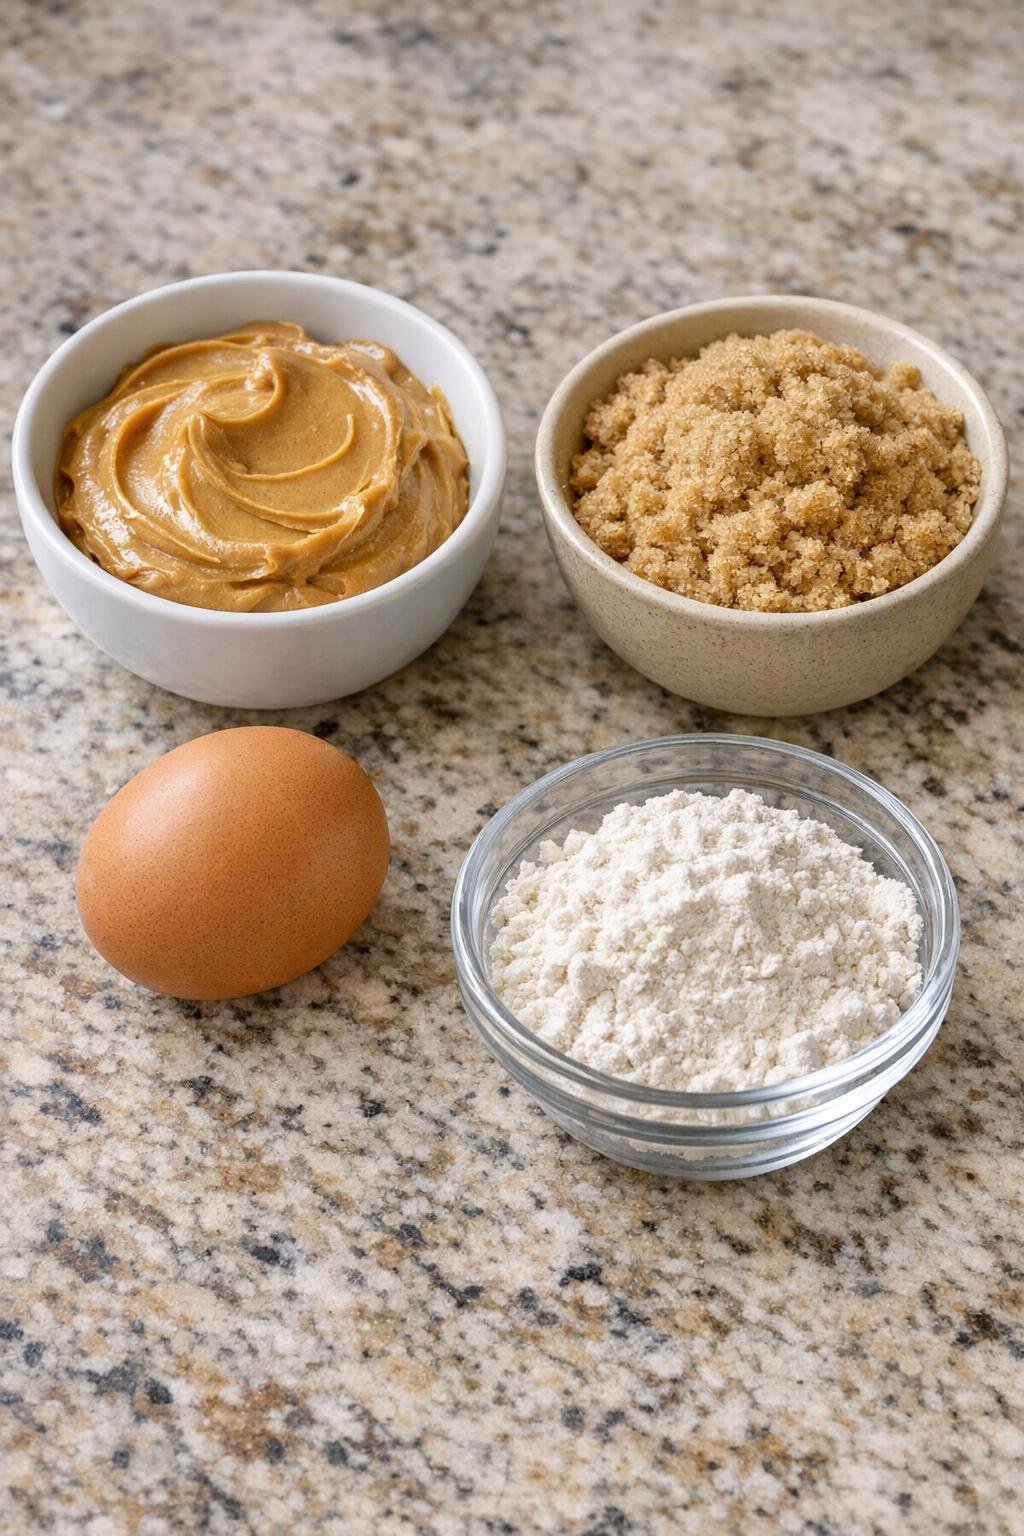
Measured blondie ingredients on a kitchen counter

Directions

1. Preheat your oven to 350°F and lightly grease an 8-inch glass baking dish or line it with parchment for easy lifting.

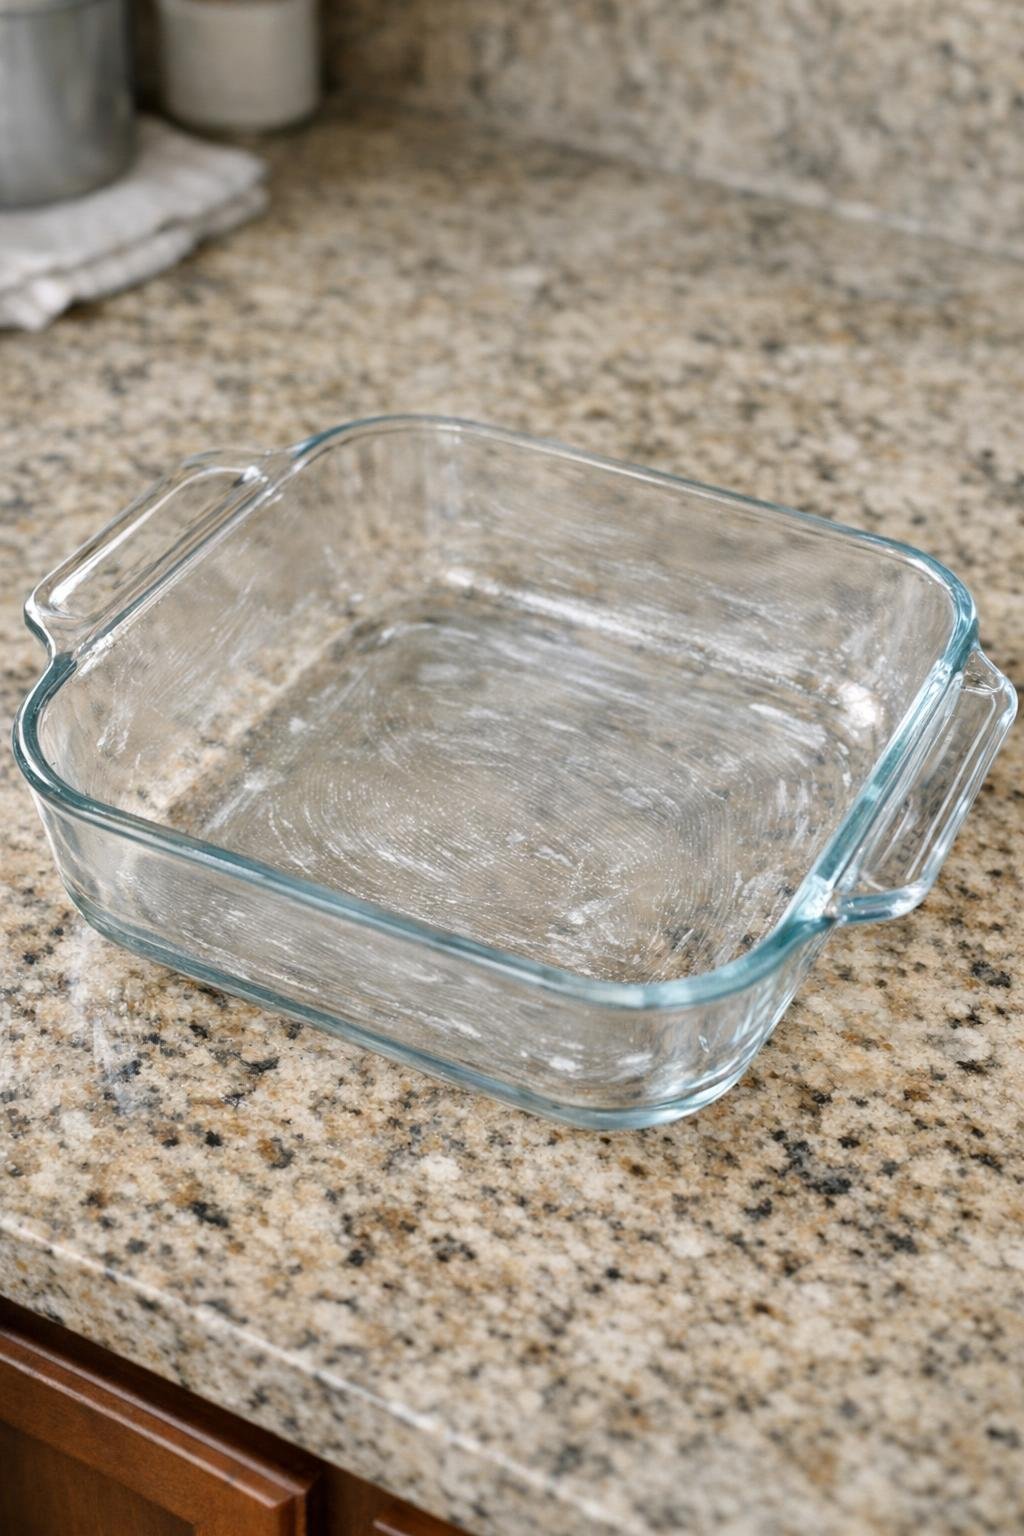
Prepared glass baking dish on a granite counter

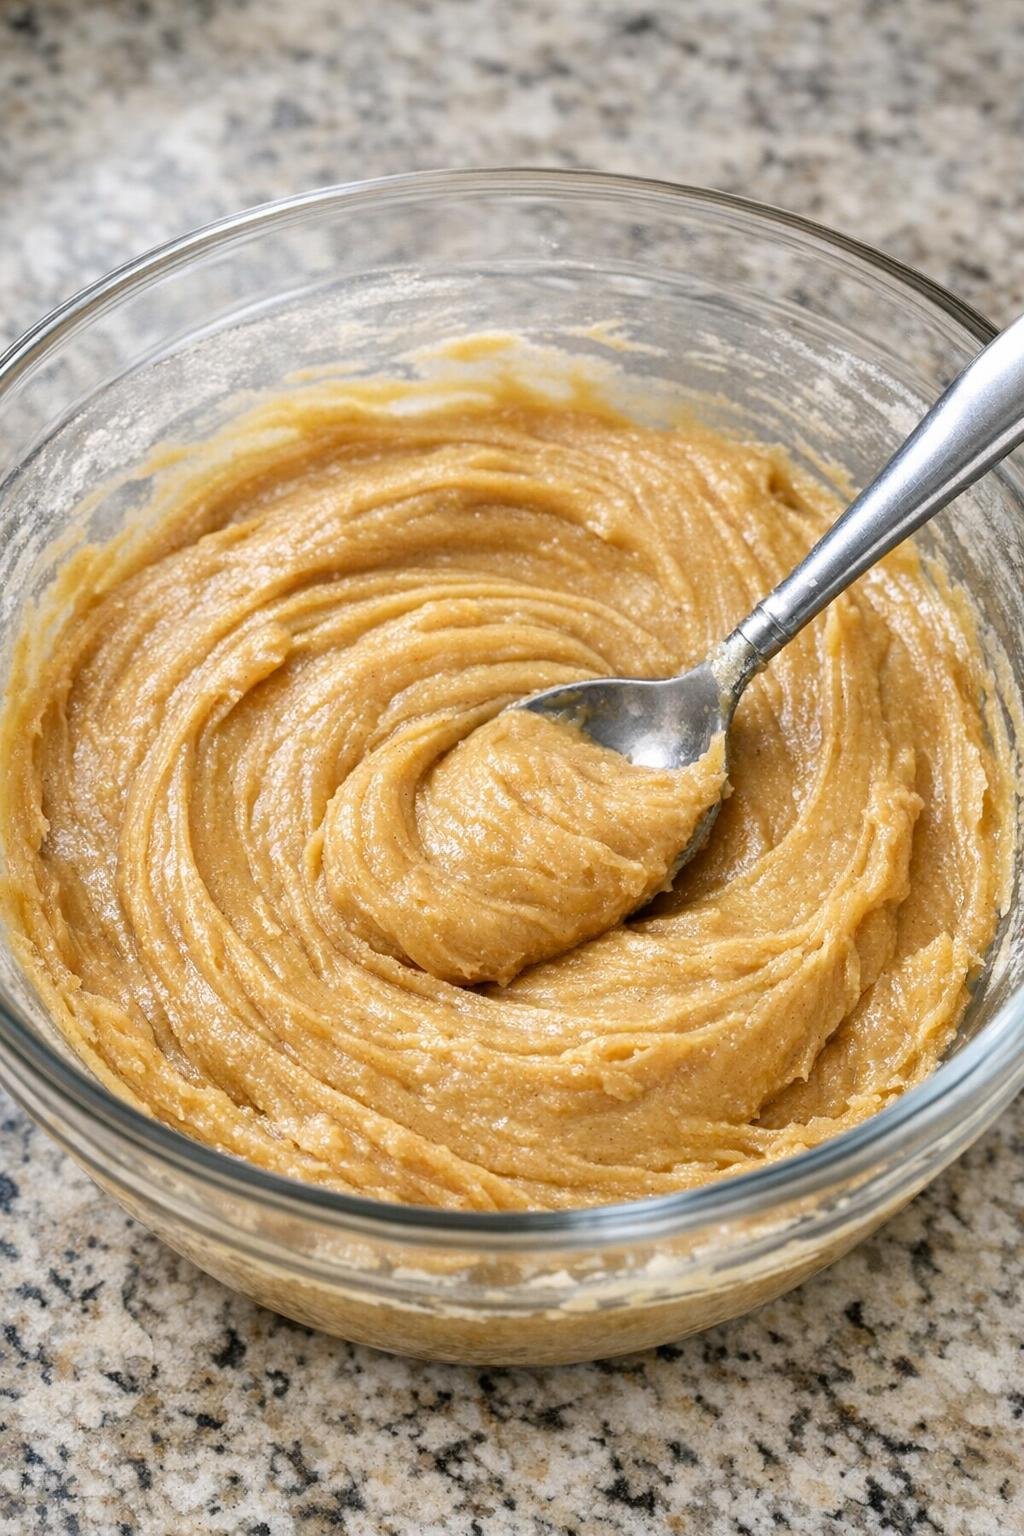
2. In a medium mixing bowl, stir together the peanut butter and brown sugar until thick and mostly smooth. Add the egg and mix until fully combined, then stir in the flour just until no dry streaks remain.

Thick peanut butter blondie batter in a mixing bowl

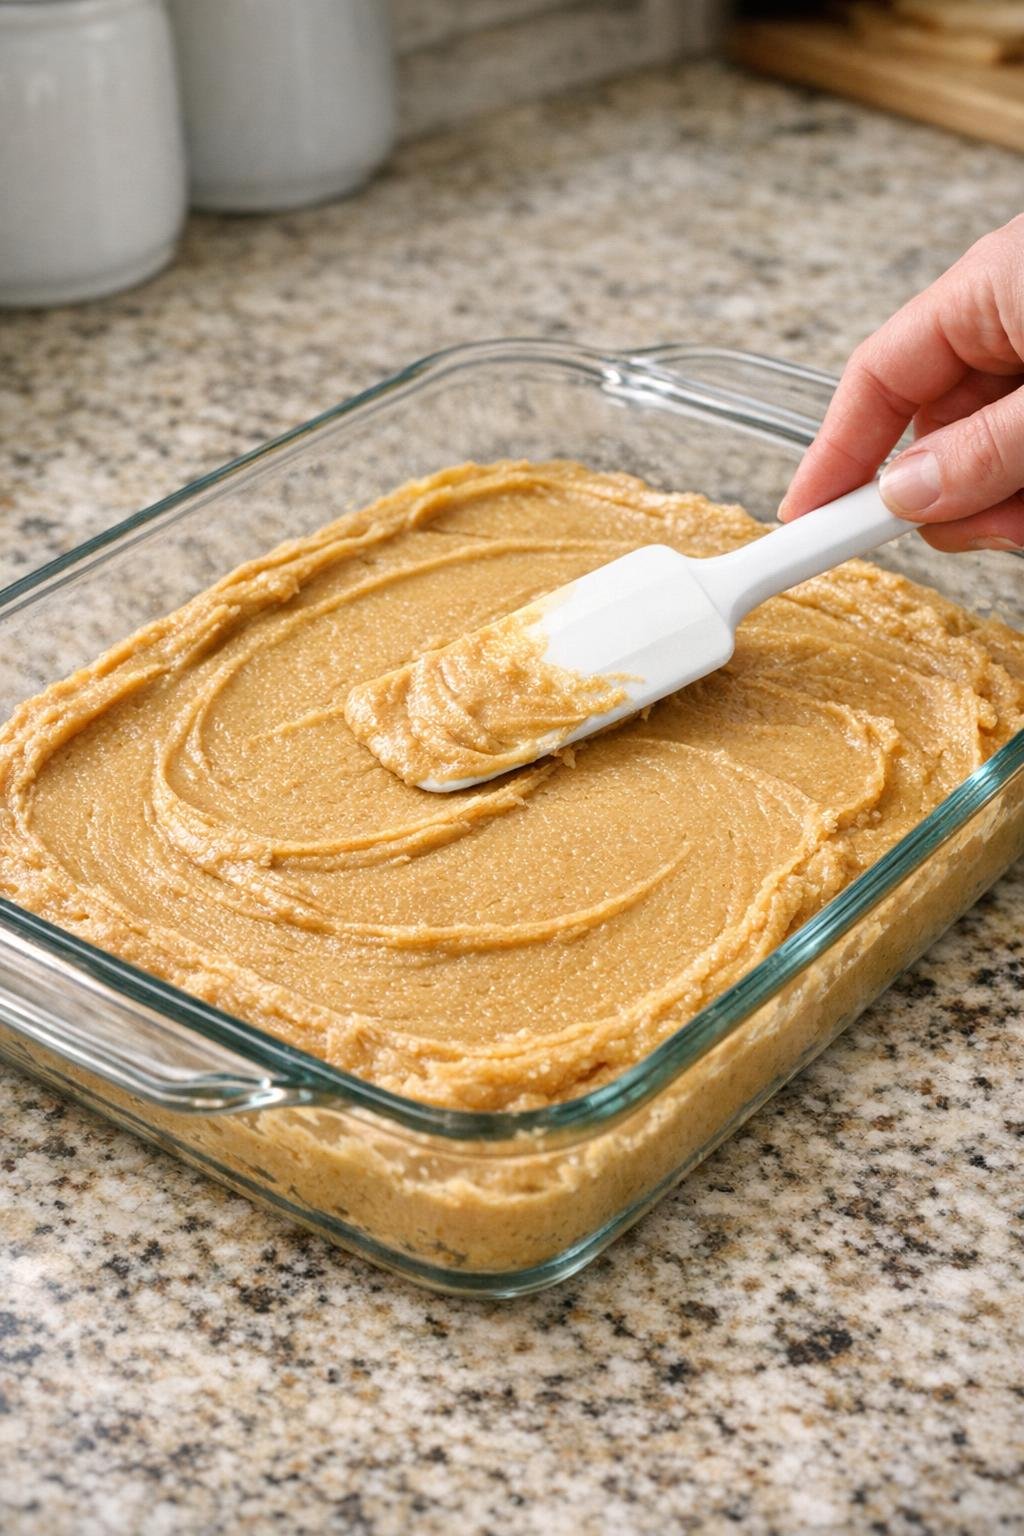
3. Spread the batter evenly into the prepared baking dish, smoothing the top with a spatula.

Blondie batter spread in a glass baking dish

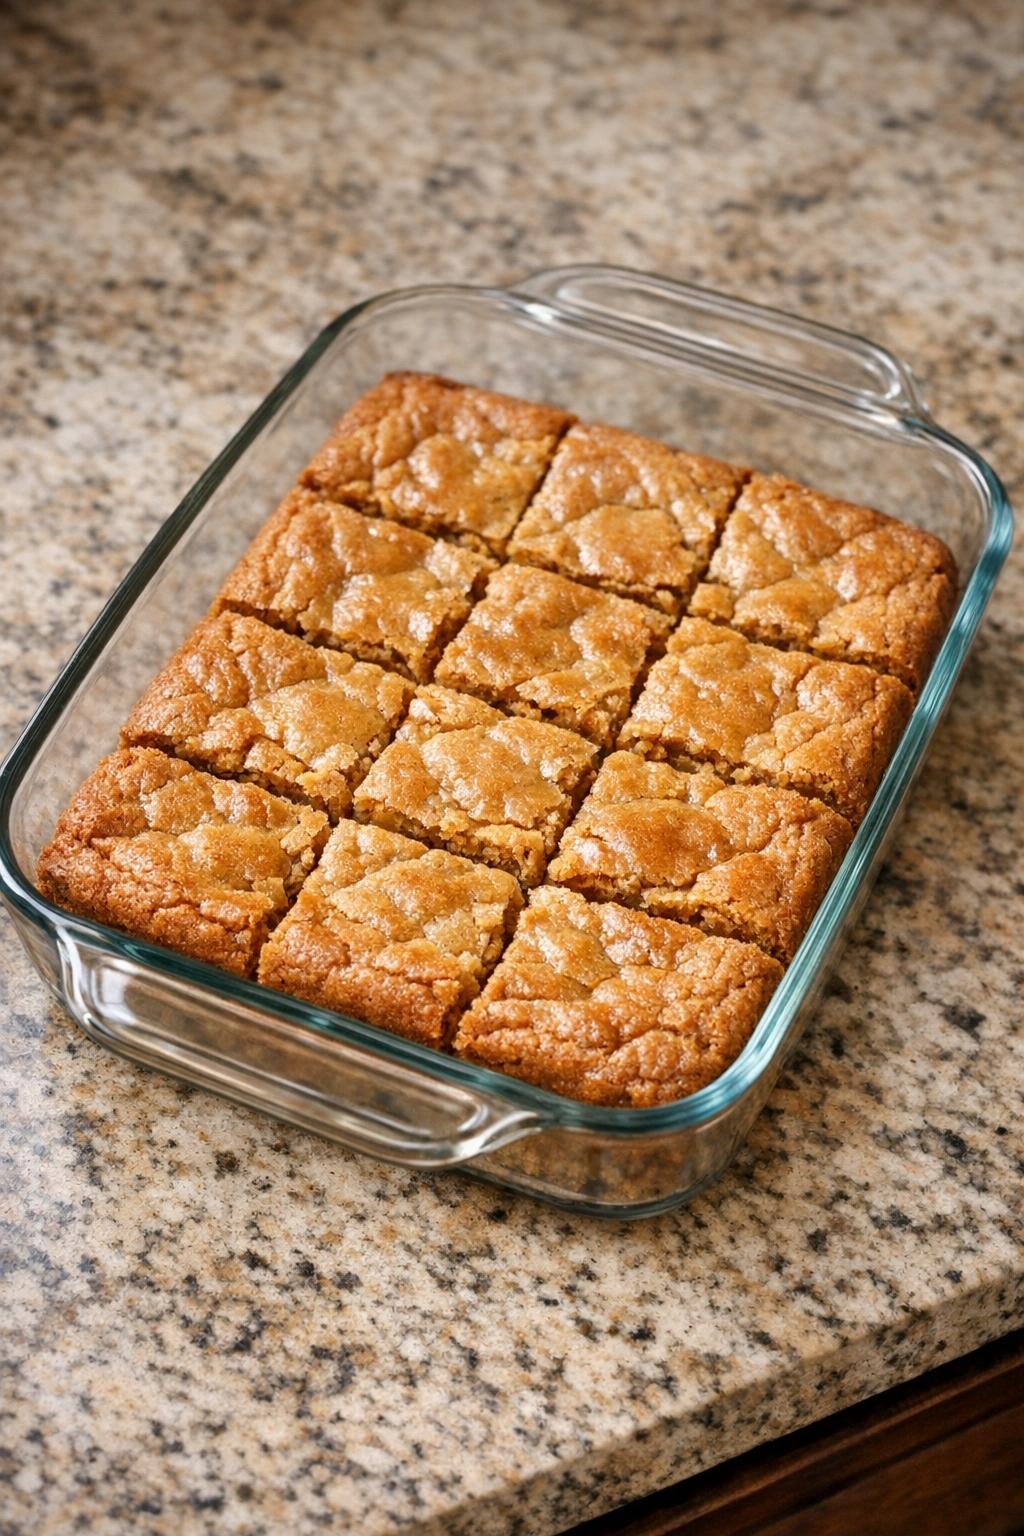
4. Bake for 18 to 22 minutes, or until the top looks set and shiny and the center is just cooked through. Do not overbake if you want a soft, fudgy middle.

Freshly baked peanut butter blondies cooling in the dish

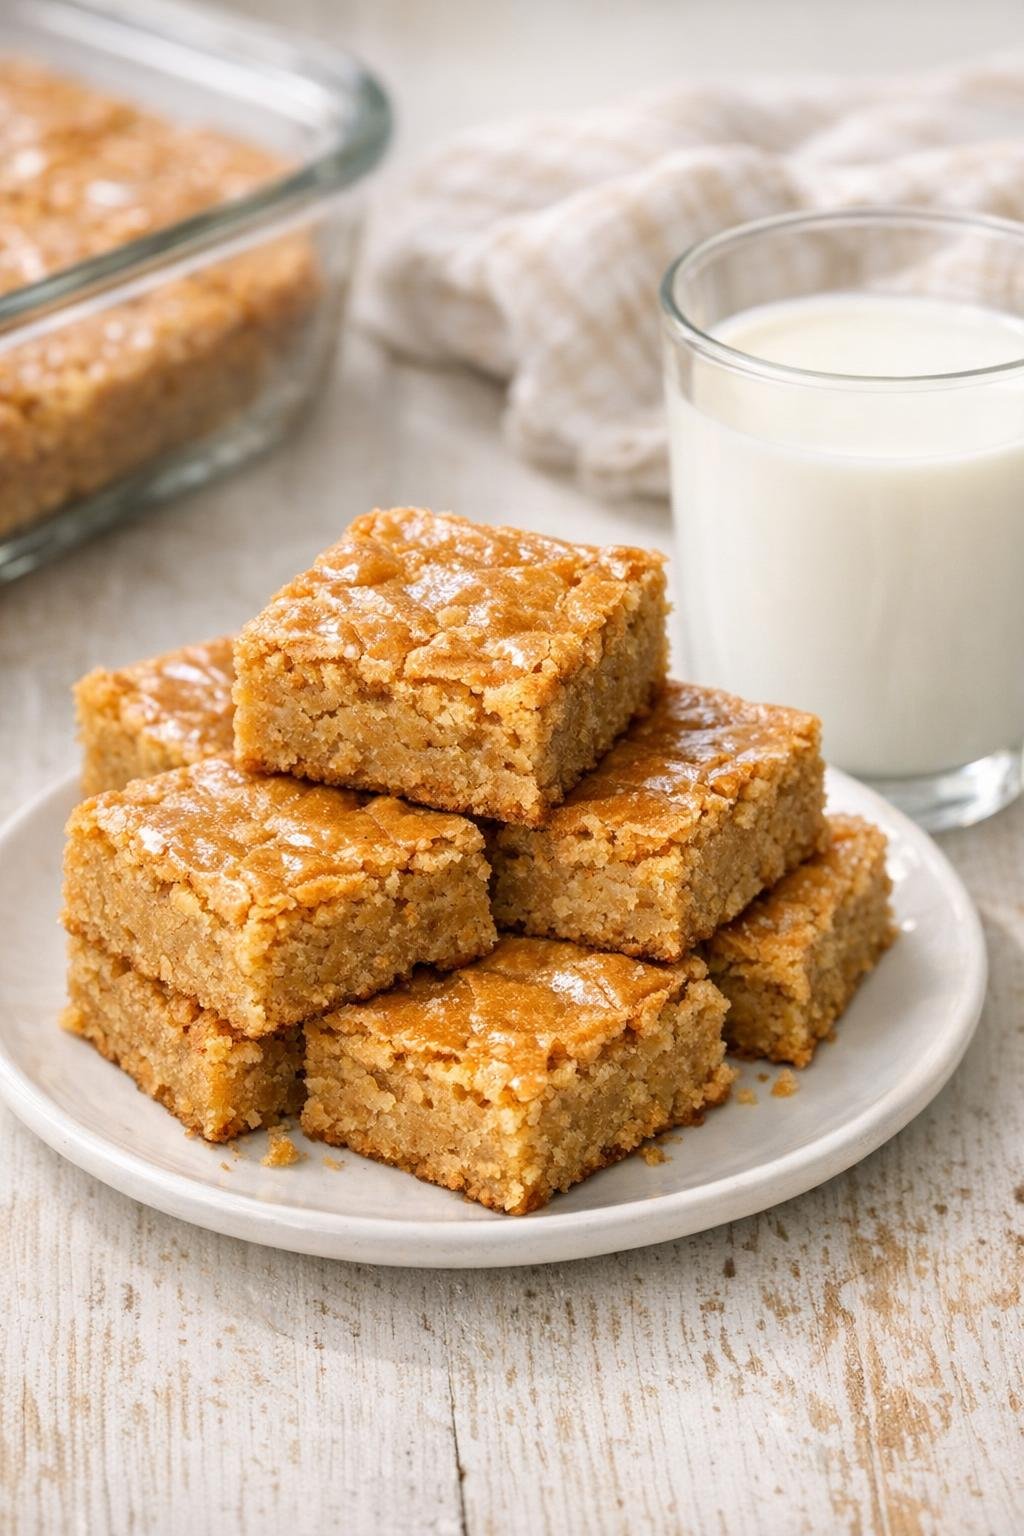
5. Let the blondies cool in the pan before slicing into squares and serving.

Plated peanut butter blondie squares with milk

Variations & Tips

For extra soft bars: Pull the pan from the oven as soon as the center is set. These continue to firm up as they cool, so a slightly underbaked middle gives you the chewiest texture.

Easy slicing tip: Let the bars cool completely before cutting, and wipe the knife between slices for neater squares. If you want very clean edges, chill the pan for 20 to 30 minutes first.

For picky eaters: If your family likes simple desserts, keep them plain just as written. The peanut butter flavor really shines when there are no extra mix-ins competing with it.

Pantry swap note: Creamy peanut butter works best for the smoothest texture. If you only have natural peanut butter, stir it very well first so the oil is fully incorporated before measuring.

Serving idea: These bars are especially good slightly warm. A few seconds in the microwave makes them taste fresh from the oven and extra cozy after dinner.

Everyone remembers this flavor once they taste it again. Warm, rich, and nostalgic

by


 This 4-ingredient butterscotch pudding is one of those back-pocket recipes I lean on when I want something cozy and homemade, but my brain is fried from a full workday and a commute. It has that old-school, from-scratch pudding vibe—like something your grandma might’ve made—without asking you to dirty every pan in the kitchen. Butterscotch pudding started popping up in American cookbooks in the early 1900s, usually made with brown sugar, butter, and milk, and it’s still a classic for a reason: it’s simple, nostalgic, and tastes like a hug in a bowl. You might want to make this when you’re craving dessert but don’t want to buy a boxed mix, or when you need a make-ahead treat for a weeknight dinner, a casual get-together, or just to have something sweet waiting in the fridge after the kids go to bed. It comes together fast on the stove, uses pantry staples, and feels just a little more special than store-bought pudding cups.

This butterscotch pudding is lovely all on its own, but if you want to dress it up a bit, a dollop of whipped cream and a sprinkle of flaky sea salt make it taste like something from a cozy little dessert café. For a more substantial dessert, serve it with crisp butter cookies, shortbread, or graham crackers on the side for dipping. It also pairs really well with sliced bananas or fresh berries if you’re trying to sneak in some fruit. If you’re hosting, you can portion it into small glasses or ramekins and top with crushed pretzels or toasted nuts for a salty-sweet crunch. And for an easy “dessert board” night, set out the chilled pudding alongside a plate of cookies, sliced fruit, and a pot of coffee or decaf tea—minimal effort, maximum comfort.
4-Ingredient Butterscotch Pudding
Servings: 4

Ingredients
2 cups whole milk
1/2 cup packed light brown sugar
3 tablespoons cornstarch
2 tablespoons unsalted butter
Optional but helpful: 1/4 teaspoon salt and 1 teaspoon vanilla extract, if you have them on hand
Directions
1. In a medium saucepan (off the heat), whisk together the brown sugar and cornstarch until no lumps remain. This helps the cornstarch disperse evenly so your pudding thickens smoothly.
2. Slowly pour in about 1/2 cup of the milk while whisking to create a smooth paste. Once it’s lump-free, whisk in the remaining milk until fully combined.
3. Place the saucepan over medium heat. Cook, whisking constantly, until the mixture begins to steam and then thickens to a pudding-like consistency, 5–8 minutes. Don’t walk away—steady whisking keeps it silky and prevents scorching on the bottom.
4. Once the pudding has thickened and just starts to bubble, reduce the heat to low and cook for 1–2 more minutes, still whisking. This cooks out any starchy taste from the cornstarch.
5. Remove the saucepan from the heat. Stir in the butter (and the salt and vanilla, if using) until the butter is fully melted and the pudding is glossy and smooth.
6. Taste and adjust if needed: if it’s not quite sweet enough for you, you can whisk in a teaspoon or two more brown sugar while it’s still hot, then stir until dissolved.
7. Pour the hot pudding into 4 small bowls, ramekins, or jars. If you want to avoid a skin forming on top, press a piece of plastic wrap directly onto the surface of each portion.
8. Let the pudding cool at room temperature for about 15–20 minutes, then transfer to the refrigerator and chill for at least 2 hours, or until fully set and cold.
9. When you’re ready to serve, remove the plastic wrap, give the pudding a quick stir if needed, and top with whipped cream, a pinch of flaky salt, or your favorite crunchy topping.
Variations & Tips
To keep this weeknight-friendly, I like recipes that bend a little based on what’s in the fridge or pantry. For a richer, more decadent pudding, swap 1/2 cup of the milk for heavy cream or half-and-half. If you prefer a deeper, more caramel-like flavor, use dark brown sugar instead of light and add a pinch of extra salt. For a butterscotch-banana vibe, layer the chilled pudding in glasses with sliced bananas and crushed vanilla wafers—basically a shortcut trifle. If you’re trying to keep things lighter, you can use 2% milk, just know the pudding will be slightly less creamy; if it seems too loose, whisk in an extra teaspoon of cornstarch next time. To make it feel more grown-up, stir in a teaspoon of bourbon or rum after taking it off the heat (skip this if serving kids). You can also turn this into a make-ahead dessert for busy weeks: double the recipe, portion it into small jars with lids on Sunday night, and you’ve got grab-and-go treats or lunchbox desserts ready to go. Finally, if you miss that classic boxed-pudding flavor, don’t skip the optional vanilla—it adds that familiar, cozy note without any extra effort.

Great Grandpa Joe called this his 4 ingredient lifesaver during hard times. I make a batch every weekend and the pan is instantly wiped clean.

by


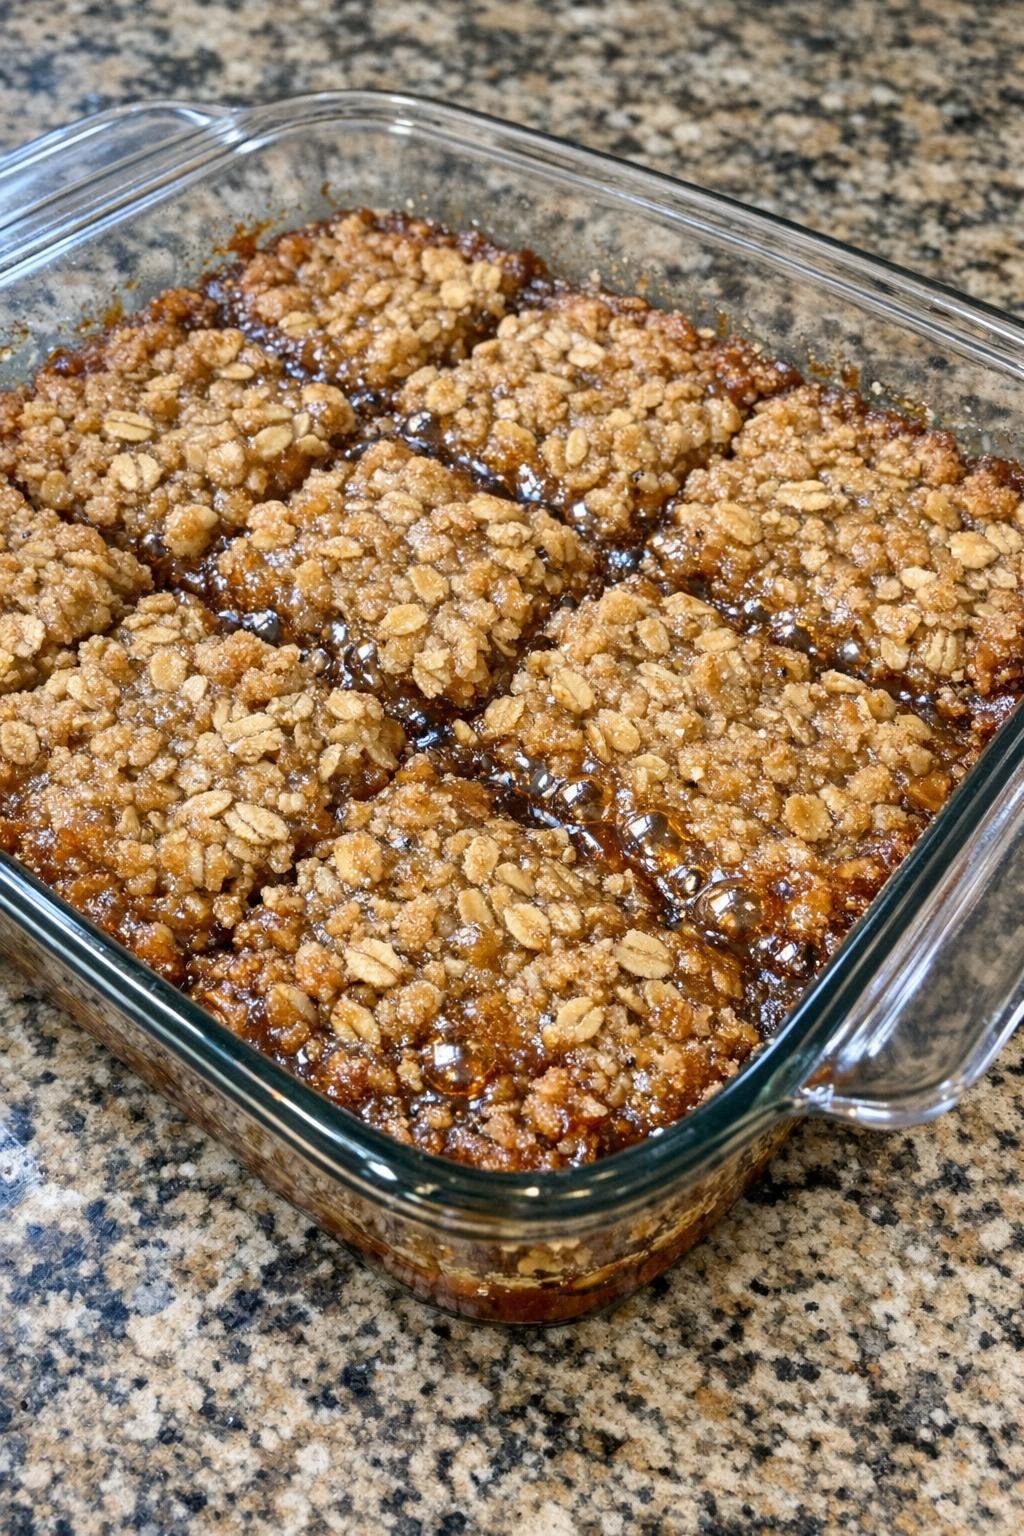
 These simple maple oat slabs are the kind of thrifty, practical sweet that make perfect sense in a Depression-era kitchen, where a few shelf-stable basics had to stretch a long way. With only oats, maple syrup, butter, and brown sugar, the result is somewhere between a soft bar cookie and a baked oatmeal square, with a rich caramel-maple flavor and a pleasantly chewy texture that feels far more generous than the short ingredient list suggests.

Serve these warm for dessert with a glass of cold milk or hot coffee, or cut them into smaller squares for an afternoon snack. They also pair nicely with plain yogurt or stewed apples if you want to lean into their old-fashioned pantry-dessert character, and a small scoop of vanilla ice cream turns them into an especially comforting treat.

4-Ingredient Depression Era Maple Oat Slabs

Servings: 9 squares

Finished maple oat slabs in casserole dish

Ingredients

2 cups old-fashioned rolled oats

1/2 cup pure maple syrup
1/2 cup packed brown sugar
1/2 cup butter, melted

Directions

1. Preheat the oven to 350°F and lightly butter an 8-inch square or similar small glass casserole dish.

2. In a medium bowl, stir together the oats and brown sugar until evenly combined.

3. Pour in the melted butter and maple syrup, then stir until all of the oats are thoroughly coated and the mixture looks glossy and damp.

4. Scrape the mixture into the prepared dish and press it into an even layer.

5. Bake for 20 to 25 minutes, until the top is golden brown and the edges are bubbling with maple syrup.

6. Let the pan cool for at least 15 minutes so the slabs can firm up slightly, then cut into 9 squares and serve warm or at room temperature.

Variations & Tips

For a firmer texture: If you want cleaner slices, let the baked slab cool completely before cutting. Warm pieces are softer and gooier, while fully cooled pieces hold their shape more like snack bars.

For deeper flavor: Dark brown sugar gives these a more robust molasses note, while lighter brown sugar keeps the maple flavor more forward. Either works well, so use what you have.

Baking dish tip: A glass dish helps you watch the syrup bubble at the edges, but any similar-sized baking dish will work. If you use metal, start checking a couple of minutes early since it may brown faster.

Storage tip: Keep leftovers covered at room temperature for a day or two, or refrigerate for longer storage. A brief warm-up in the microwave softens them nicely and brings back that fresh-baked texture.

I made this for Uncle Joe last year and now he shows up every fall with a bag of apples and a spoon.

by


 When you need a last-minute treat for a fall gathering, it is hard to beat a simple stovetop dip built from pantry staples. This recipe has the old-fashioned candy-shop flavor people love, with a smooth texture that feels a little nostalgic and a little special, yet it comes together with almost no effort. It is exactly the sort of recipe that earns a permanent place in the family rotation because it delivers big results from very little work.

Serve this with crisp apple slices for the classic pairing, or branch out with pear slices, pretzel rods, vanilla wafers, graham crackers, or even sturdy shortbread cookies. For a dessert board, I like to set the warm dip in the center and surround it with fruit, cookies, and a handful of toasted nuts so guests can mix sweet, salty, and crunchy bites.

2-Ingredient Caramel Dip

Servings: 10

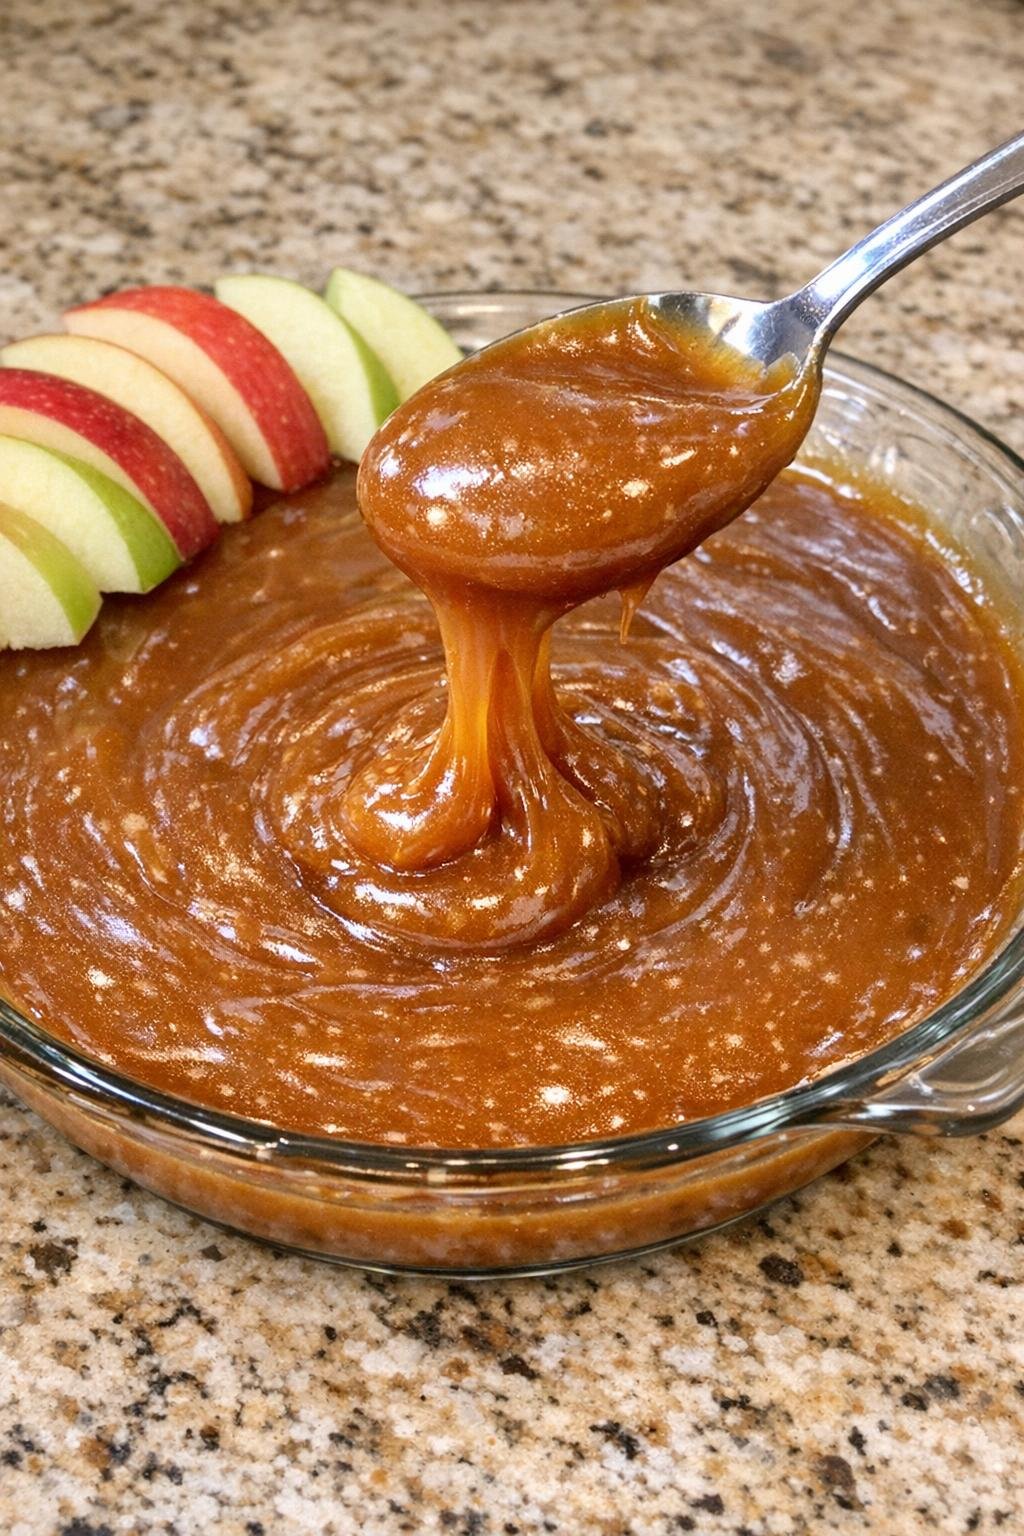
Caramel dip in a glass pie plate with apple slices

Ingredients

1 bag (11 oz) soft caramels, unwrapped

1 can (14 oz) sweetened condensed milk

Directions

1. Place the unwrapped caramels and sweetened condensed milk in a medium saucepan over low heat.

2. Cook gently, stirring often, until the caramels are fully melted and the mixture is smooth and glossy.

3. Pour the warm dip into a serving dish and let it sit for a few minutes to thicken slightly before serving.

Variations & Tips

Keep the heat low: Caramel can scorch if the burner is too hot, so low heat and frequent stirring are the keys to a silky texture.

Make it ahead: You can prepare the dip a day in advance and refrigerate it. Rewarm gently on the stovetop or in short microwave bursts, stirring between each, until smooth again.

Salted caramel version: Stir in a pinch of fine sea salt at the end if you want a more balanced sweet-salty flavor that pairs especially well with tart apples.

Flavor boost: A splash of vanilla extract can add a rounder dessert-like note, while a pinch of cinnamon gives it an easy autumn feel.

Best dippers: Choose firm, crisp apples and slice them just before serving to keep them fresh-looking. If you are setting out a platter for a party, toss the slices with a little lemon juice to slow browning.

I made this for my brother at Thanksgiving and now he hides the pie plate in his truck before we eat.

by


 Some desserts earn a permanent place at family gatherings because they deliver maximum comfort with almost no effort, and this no-bake pie is exactly that kind of recipe. It leans on a handful of store-bought staples to create something rich, cool, and sliceable, with the kind of old-school potluck charm that never goes out of style. Best of all, it comes together quickly, which makes it especially useful when oven space is tight around the holidays.

Serve this pie well chilled so the filling stays neat and creamy. It pairs nicely with coffee after a big meal, and if you want to round out the dessert table, fresh strawberries, raspberries, or a bowl of lightly sweetened whipped cream make excellent companions to all that deep chocolate flavor.

4-Ingredient Chocolate Pudding Pie

Servings: 8

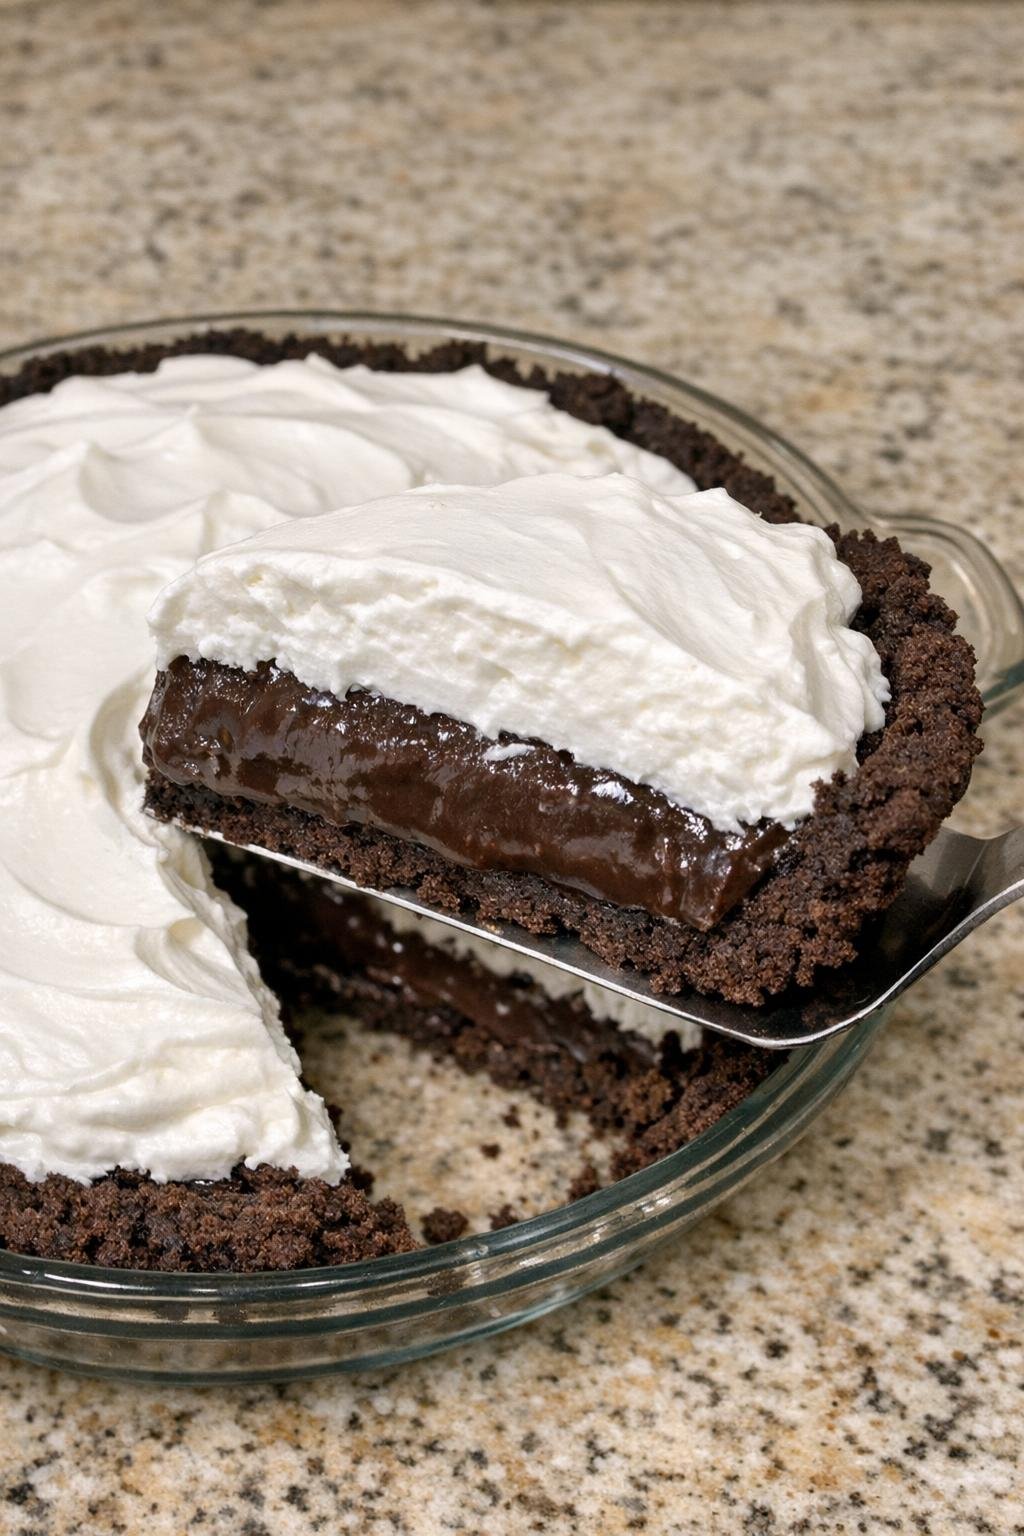
Chocolate cream pie with whipped topping in a cookie crust

Ingredients

1 prepared chocolate cookie crust

2 boxes (3.9 oz each) instant chocolate pudding mix
2 3/4 cups cold milk
1 tub (8 oz) whipped topping, thawed

Directions

1. In a large mixing bowl, whisk together the instant chocolate pudding mix and cold milk for about 2 minutes, until the mixture is smooth, glossy, and beginning to thicken.

2. Let the pudding stand for 2 to 3 minutes so it thickens a little more, then fold in about half of the whipped topping until fully combined and fluffy.

3. Spoon the filling into the prepared chocolate cookie crust and spread it into an even layer, making sure it reaches the edges.

4. Spread the remaining whipped topping over the pie, covering the chocolate layer completely. Chill for at least 4 hours, or until firm enough to slice cleanly.

5. Slice and serve cold. If you like, add a few chocolate cookie crumbs on top just before serving for a simple garnish.

Variations & Tips

Extra chocolate finish: Sprinkle the top with chocolate shavings, mini chocolate chips, or crushed chocolate sandwich cookies just before serving for a little texture and a more dramatic dessert-table look.

Make-ahead tip: This pie is an excellent prepare-a-day-ahead dessert. Keep it covered in the refrigerator so the topping stays fresh and the filling has plenty of time to set.

Texture tip: For the cleanest slices, chill the pie thoroughly and wipe the knife between cuts. A cold pie plate and a sharp thin-bladed knife help keep the layers distinct.

Flavor twist: Swap in instant white chocolate or cheesecake pudding for one of the chocolate boxes if you want a lighter layered flavor while still keeping the recipe easy and no-bake.

Crust option: Although a chocolate cookie crust gives the deepest cocoa flavor, a graham cracker crust also works if that is what you have on hand. The result will be a little sweeter and a bit more classic diner-style.

My stepmom Linda handed this secret down to me years ago and it completely changed how I bake. It is perfectly sweet and looks deliciously messy strai

by


 My stepmom Linda handed this cinnamon banana loaf recipe down to me years ago, and it completely changed how I bake for my family. It uses everyday pantry ingredients—bananas, cinnamon, flour, sugar, and butter—but the way it bakes up is something special: perfectly sweet, soft in the middle, and a little messy and swirled on top. It comes out of the oven looking homemade and a bit uneven, like someone scooped the batter in with love instead of worrying about perfection.

This is the kind of loaf you make on a quiet afternoon, when you want the whole house to smell like comfort.

Warm cinnamon banana loaf on a kitchen counter

Serve this cinnamon banana loaf slightly warm, right out of the pan if you like, with a pat of butter that melts into all the soft pockets. It’s lovely with a cup of coffee or hot tea for adults, and a glass of cold milk or hot cocoa for the kids. For a simple dessert, add a scoop of vanilla ice cream or a spoonful of whipped cream on top of a thick slice.

It also makes a cozy breakfast with scrambled eggs or yogurt and fruit on the side, and the leftovers toast up beautifully in a skillet with just a bit of butter.

Cinnamon Banana Loaf

Servings: 8-10


Ingredients

3 medium very ripe bananas, mashed (about 1 1/2 cups)

1/2 cup (1 stick) unsalted butter, melted and slightly cooled
3/4 cup granulated sugar
1/4 cup packed light brown sugar
2 large eggs, at room temperature
1 teaspoon vanilla extract
1 3/4 cups all-purpose flour
1 1/2 teaspoons ground cinnamon
1 teaspoon baking powder
1/2 teaspoon baking soda
1/2 teaspoon fine salt
2 tablespoons granulated sugar (for cinnamon swirl topping)
1 teaspoon ground cinnamon (for cinnamon swirl topping)
1 tablespoon melted butter (for cinnamon swirl topping)
Butter or nonstick spray, for greasing the loaf pan

Directions

Preheat your oven to 350°F (175°C). Grease a metal 9x5-inch loaf pan with butter or nonstick spray, making sure to get into the corners. Set it on a sturdy baking sheet so it’s easy to move in and out of the oven.

Loaf pan and baking ingredients set out for banana bread

In a large mixing bowl, mash the ripe bananas with a fork until mostly smooth but with a few soft pieces still visible. Those little bits are what make the inside so tender and textured.

Pour the 1/2 cup melted butter over the mashed bananas and stir until combined. Add the 3/4 cup granulated sugar and 1/4 cup brown sugar, and mix until the mixture looks thick and glossy.

Beat in the eggs, one at a time, stirring well after each addition. Add the vanilla extract and stir again. The batter will look loose and a bit lumpy from the bananas—that’s exactly what you want.

Banana loaf batter being mixed in a bowl

In a separate bowl, whisk together the flour, 1 1/2 teaspoons cinnamon, baking powder, baking soda, and salt. This keeps the dry ingredients from clumping and helps the loaf rise evenly.

Gently add the dry ingredients to the wet banana mixture in two additions, stirring just until the flour disappears each time. The batter should be thick and a bit rustic, not perfectly smooth. Avoid overmixing; a few streaks are fine.

In a small bowl, make the cinnamon swirl topping by stirring together 2 tablespoons sugar, 1 teaspoon cinnamon, and 1 tablespoon melted butter until it looks like damp, sandy crumbs.

Cinnamon sugar topping in a small bowl

Spoon about half of the banana batter into the prepared loaf pan in uneven scoops, letting it mound up a little here and there. Sprinkle half of the cinnamon topping over this first layer.

Spoon the remaining batter on top in big dollops, letting some spots be a bit higher than others so the surface will bake up slightly uneven and homey. Sprinkle the rest of the cinnamon topping over the top.

Using the tip of a butter knife, gently drag it through the batter in a few loose swirls—just two or three passes lengthwise. You’re not trying to make perfect patterns; you just want some of the cinnamon to sink in while leaving a swirled, scooped look on top.

Unbaked banana loaf batter swirled in the pan

Place the pan (on its baking sheet) into the preheated oven and bake for 55–65 minutes, or until the top is deep golden, looks deliciously messy and cracked, and a toothpick inserted into the center comes out with a few moist crumbs but no wet batter.

Let the loaf cool in the pan on a wire rack for at least 15–20 minutes. The top will settle a bit but should still look rustic and swirled. Run a knife around the edges, then carefully lift or tip the loaf out of the pan. Serve warm in thick slices, or let it cool completely for cleaner cuts.

Sliced cinnamon banana loaf cooling on a rack

Variations & Tips

For picky eaters who don’t love a strong cinnamon flavor, cut the cinnamon in the batter down to 1 teaspoon and skip the swirl topping, or replace the swirl with a light sprinkle of plain sugar before baking for a simple, crackly top. If your family enjoys a little crunch, fold in 1/2 cup chopped walnuts or pecans with the dry ingredients.

For a slightly lighter loaf, you can swap half of the melted butter for plain yogurt or sour cream; it keeps the texture moist while softening the sweetness a bit. To make it feel more like dessert, drizzle the cooled loaf with a quick glaze made from 1/2 cup powdered sugar and 1–2 teaspoons milk.

This recipe also works well as muffins: divide the batter into a greased 12-cup muffin tin, add a pinch of the cinnamon topping to each, and bake at 350°F (175°C) for about 18–22 minutes. If you have extra ripe bananas, double the recipe and freeze one loaf—wrap it tightly in plastic and foil; it thaws beautifully on the counter and tastes just as cozy the second time around.

Banana loaf served with coffee and fruit for breakfast

Top Ad 728x90