This is the kind of church-basement classic that shows up in a clear glass casserole dish and disappears before the potluck line has even formed. My cousin Martha has been tossing these three ingredients together before Sunday service for years, sliding the pan into the freezer on her way out the door. By the time everyone’s back home, the cranberry-pineapple mixture has set into a tart, sweet, frosty salad that walks the line between side dish and dessert. It leans on pantry-friendly staples—whole berry cranberry sauce, crushed pineapple, and whipped topping—so it’s easy to keep everything on hand for holidays, family dinners, or any time you want something nostalgic and entirely addictive.
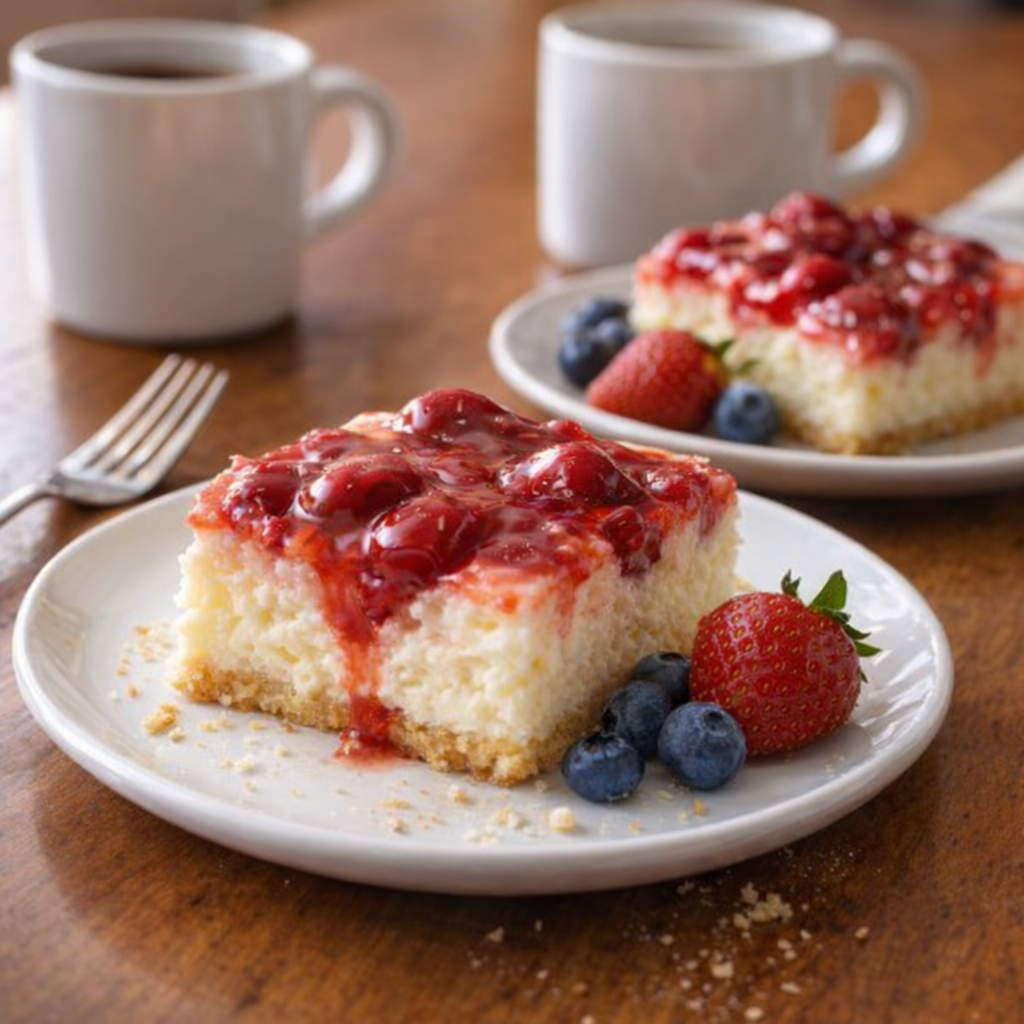
Serve this frozen cranberry pineapple salad in chilled squares scooped from the glass casserole dish, so you can see the rich pinkish-red color against the sides. It’s especially good alongside roast turkey, ham, or a simple baked chicken, where its tart sweetness cuts through the richness of the main dish. For a more casual setting, pair it with grilled pork chops or a pot of chili as a cool, bright contrast. You can also treat it like a light dessert and serve small portions after a heavier meal, maybe with a few salty nuts or buttery shortbread on the side to play up the sweet-tart flavors.
Frozen Cranberry Pineapple Salad
Servings: 8-10
Ingredients
1 can (14 ounces) whole berry cranberry sauce, chilled if possible
1 can (20 ounces) crushed pineapple in juice, well drained
1 tub (8 ounces) frozen whipped topping, thawed
Directions
Clear space in your freezer for a shallow glass casserole dish (an 8x8-inch or similar size works well), so you can slide it in quickly once the mixture is ready.
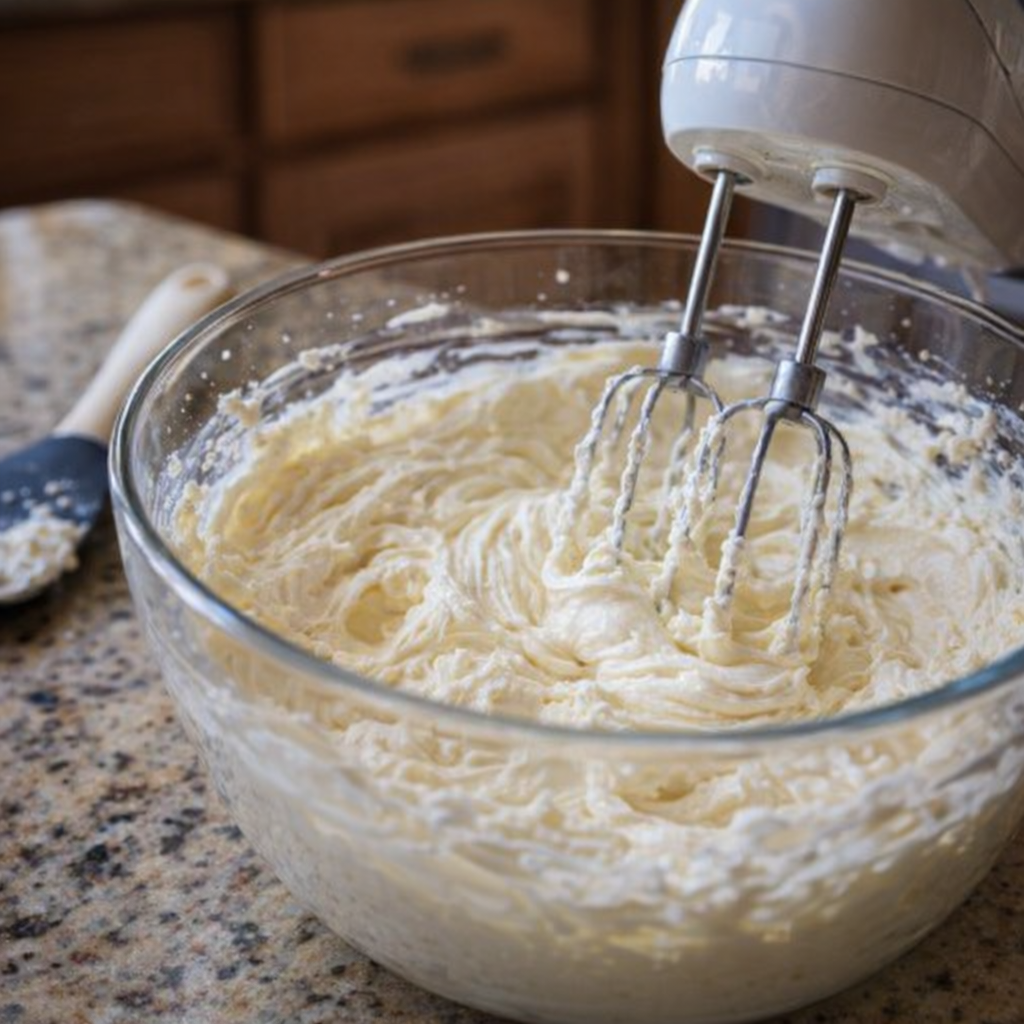
Place the whole berry cranberry sauce in a medium mixing bowl. Using a spoon or spatula, break it up gently so the berries and gel are evenly distributed and no large clumps remain.
Add the well-drained crushed pineapple to the cranberry sauce. Stir until the fruit is thoroughly combined and you see an even mix of berries and pineapple throughout.
Fold in the thawed whipped topping. Start by adding about half, gently lifting and turning the mixture rather than stirring vigorously, then add the rest and continue folding until the color is a uniform pinkish red and no streaks of white remain.
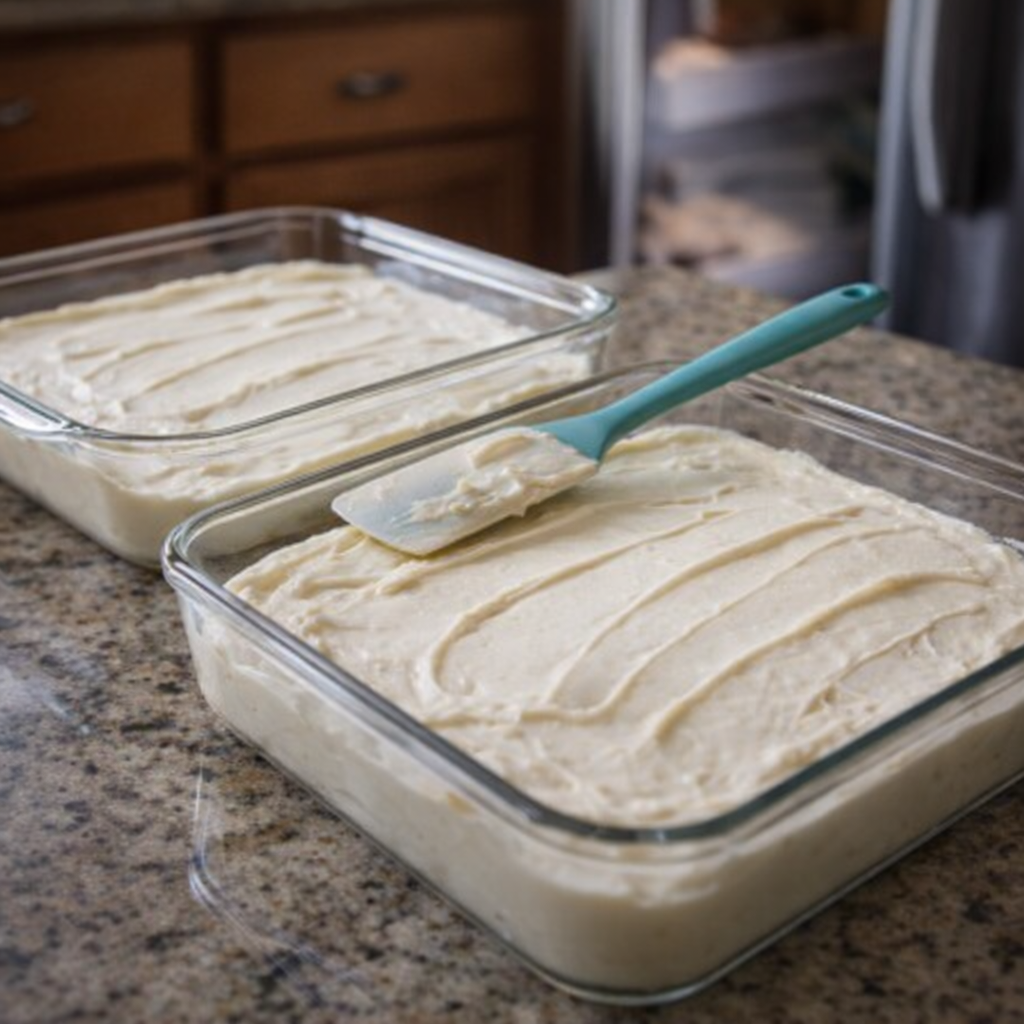
Pour the mixture into a clear glass casserole dish, smoothing the top with a spatula so it’s level and reaches into the corners. The mixture should look thick, glossy, and evenly pink.
Place the dish in the freezer, uncovered, and freeze for about 2 to 3 hours, or until the salad is firm around the edges with a softly frozen center that gives slightly when pressed with a spoon.
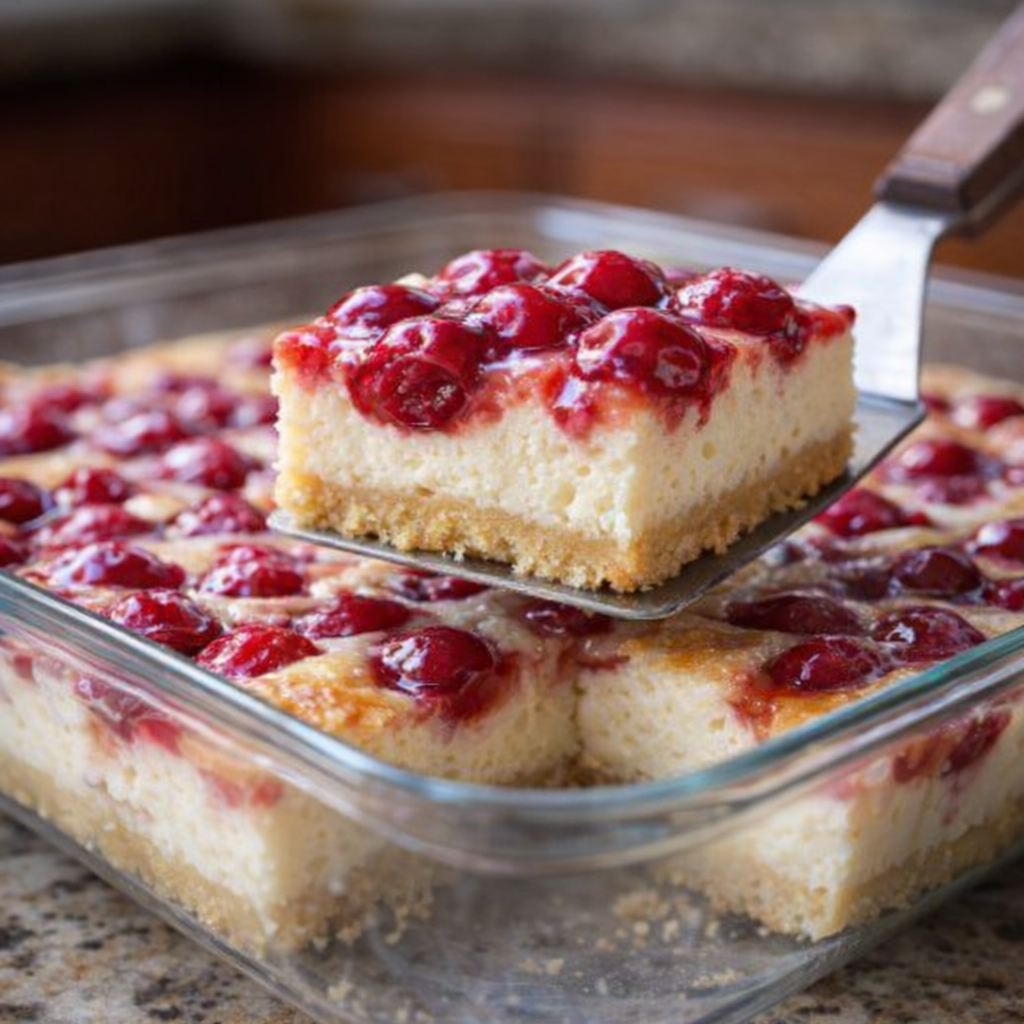
Once set, you can cover the dish with plastic wrap or a lid to prevent ice crystals if you’re holding it longer. For serving, let the salad sit at room temperature for 5 to 10 minutes to soften slightly, then scoop or cut into squares and serve directly from the glass dish.
Return any leftovers to the freezer, covered. Let soften briefly before serving again so the texture stays creamy rather than icy.
Variations & Tips
For a slightly tangier version, stir in a tablespoon or two of orange juice or finely grated orange zest along with the cranberry sauce and pineapple; it brightens the flavor without adding extra ingredients to the shopping list. If you like more texture, you can fold in a small handful of chopped toasted pecans or walnuts before freezing, which plays nicely against the smooth, creamy base. To make individual servings, divide the mixture among clear glass ramekins or small jars before freezing; they’ll set a bit faster and look pretty on a dessert tray. If your freezer runs very cold and the salad becomes too firm, just let it rest on the counter for 10 to 15 minutes before serving so it returns to that ideal soft-frozen, spoonable texture. And if you prefer a slightly lighter feel, you can use a light or extra-creamy whipped topping—just keep the volume the same so the salad freezes to the right consistency.