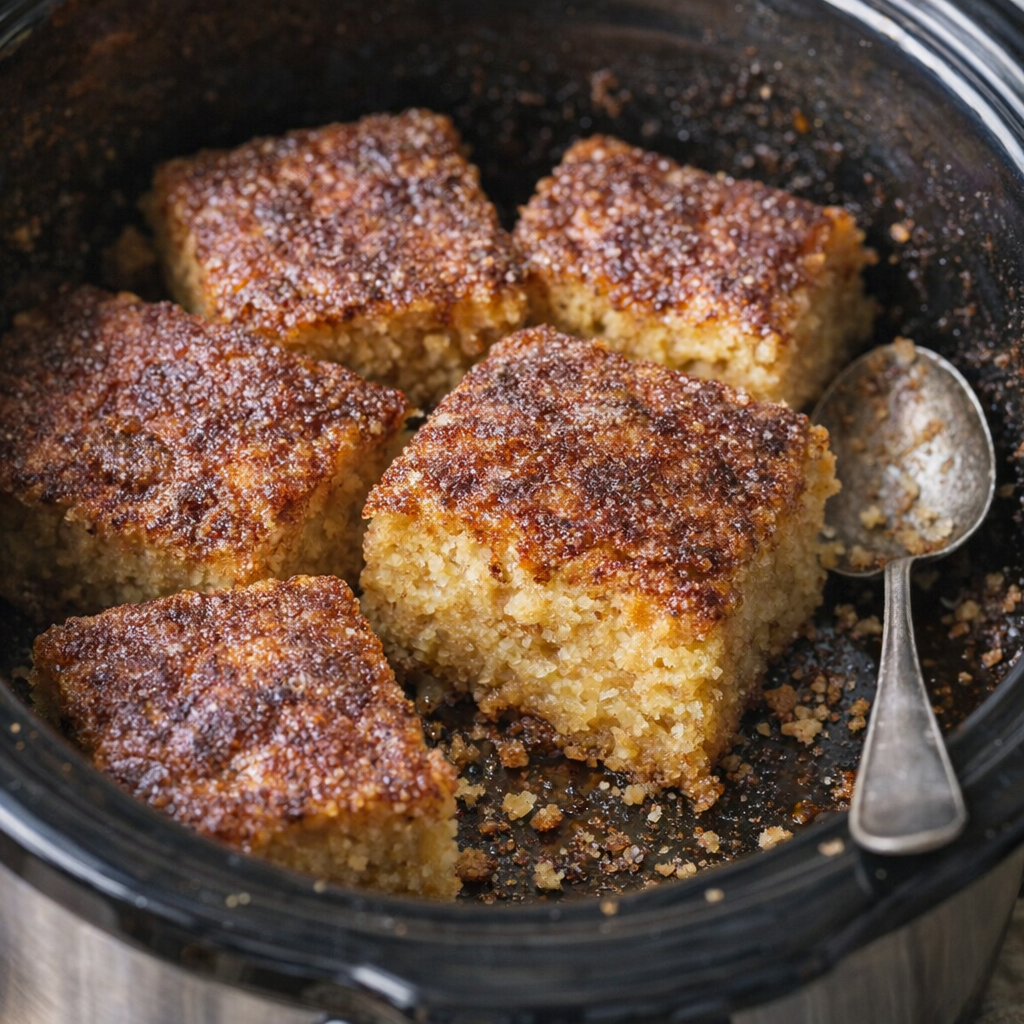
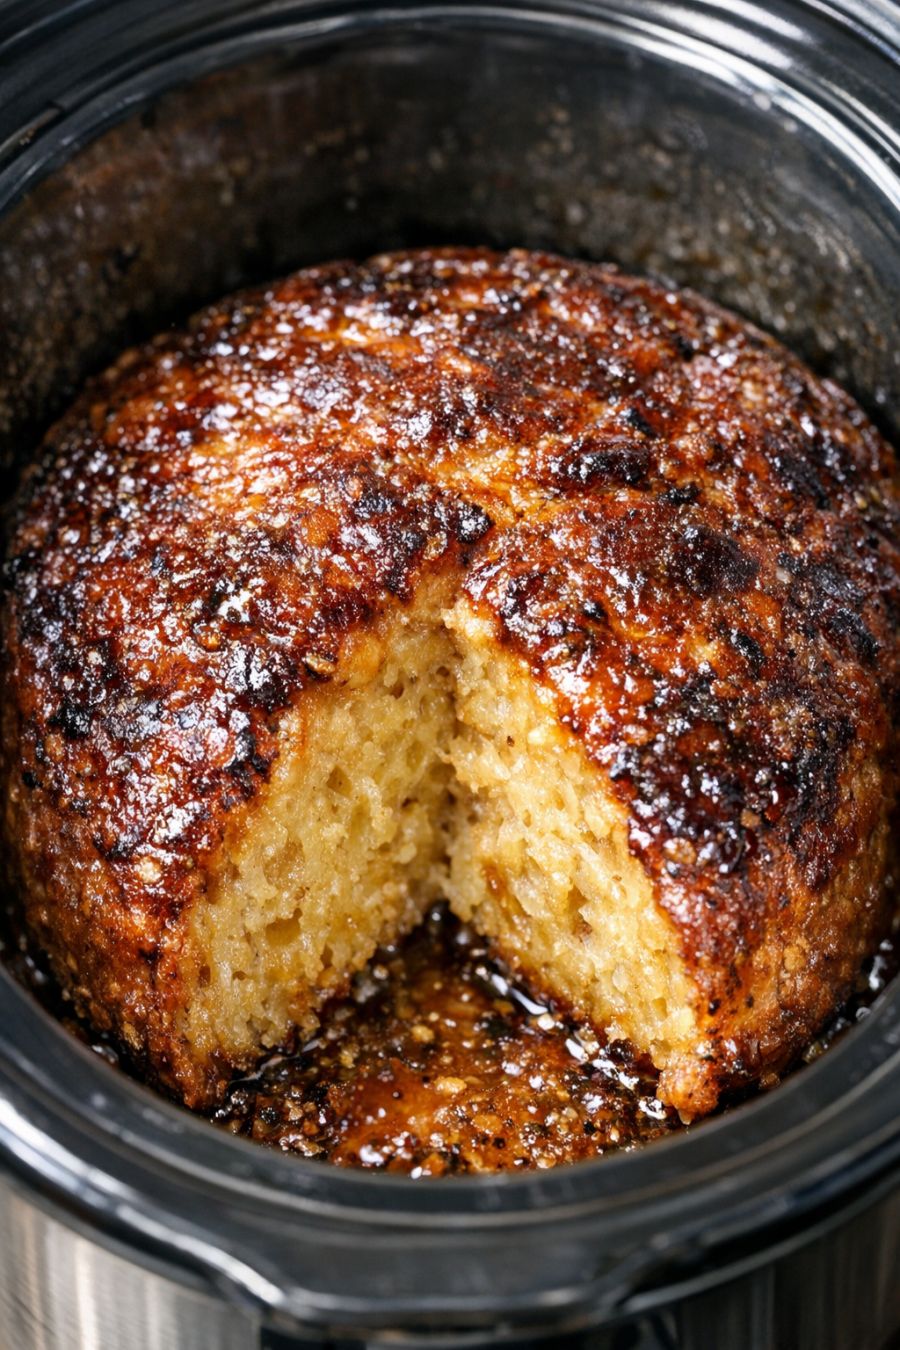
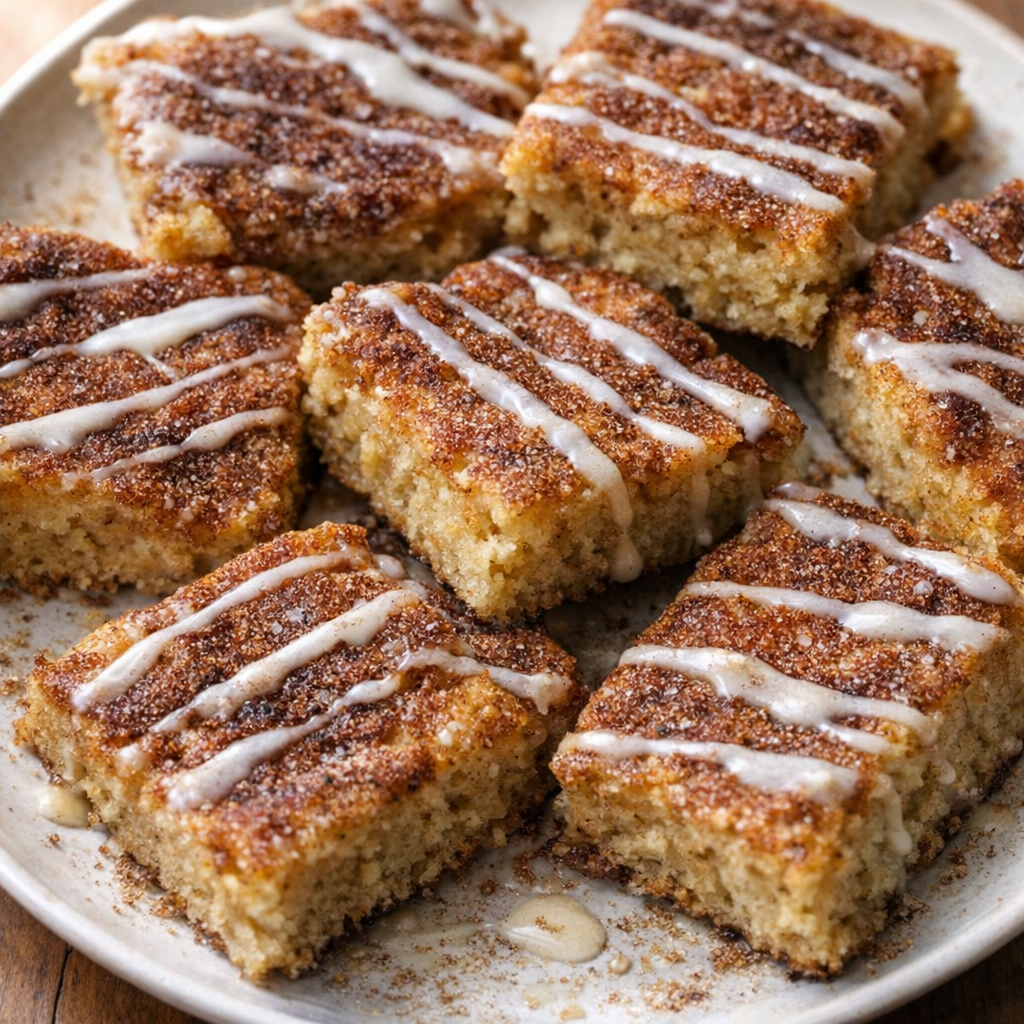
These 4-ingredient slow cooker Palm Sunday glazed sweet potatoes are exactly the kind of dish that disappears fast at a church potluck. I brought a crock full of these glossy, caramelized garnet sweet potato rounds to our Palm Sunday lunch, and three ladies literally followed me out to the parking lot asking how I made them. The secret is thick-sliced garnet sweet potatoes that hold their shape, a simple buttery brown sugar glaze with a hint of cinnamon, and the ease of letting the slow cooker do all the work while you’re getting everyone out the door. It’s a low-stress, high-praise recipe that feels special enough for a church holiday but simple enough for any Sunday dinner.
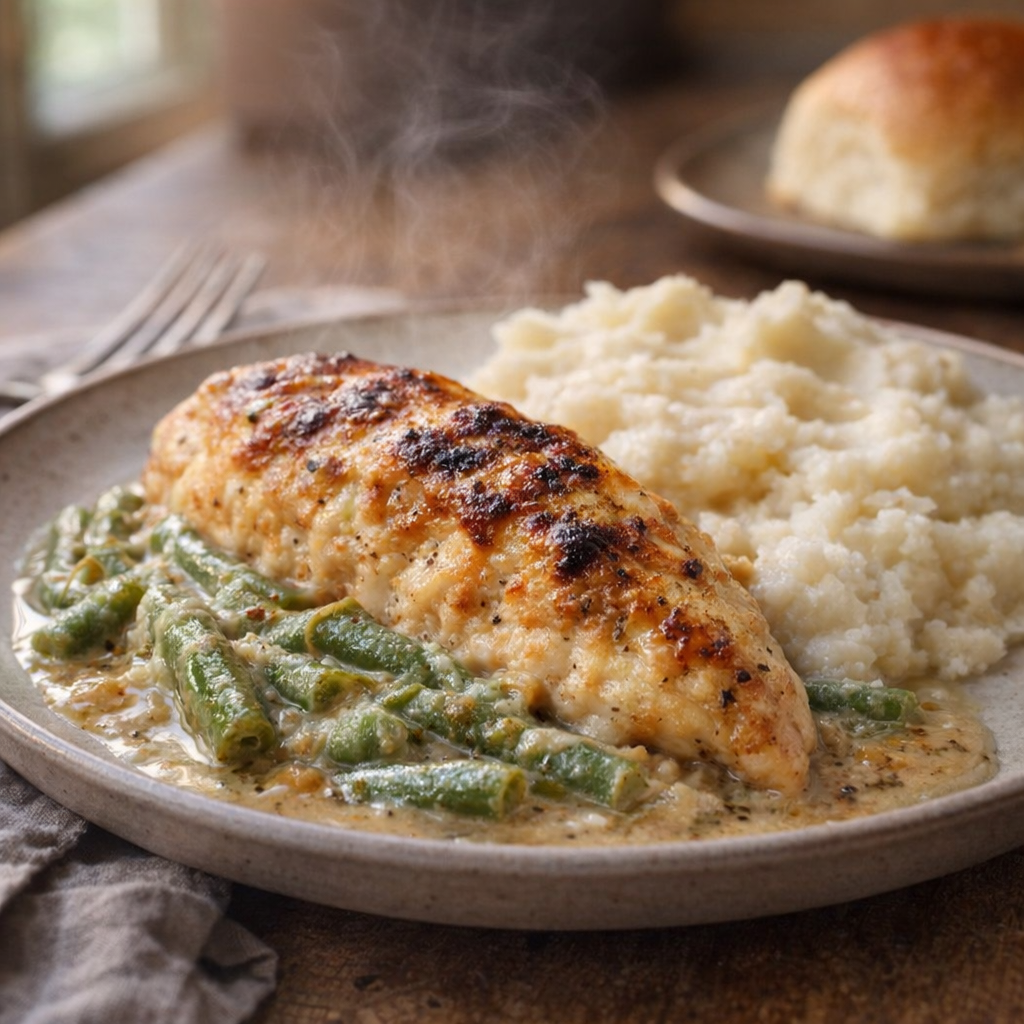
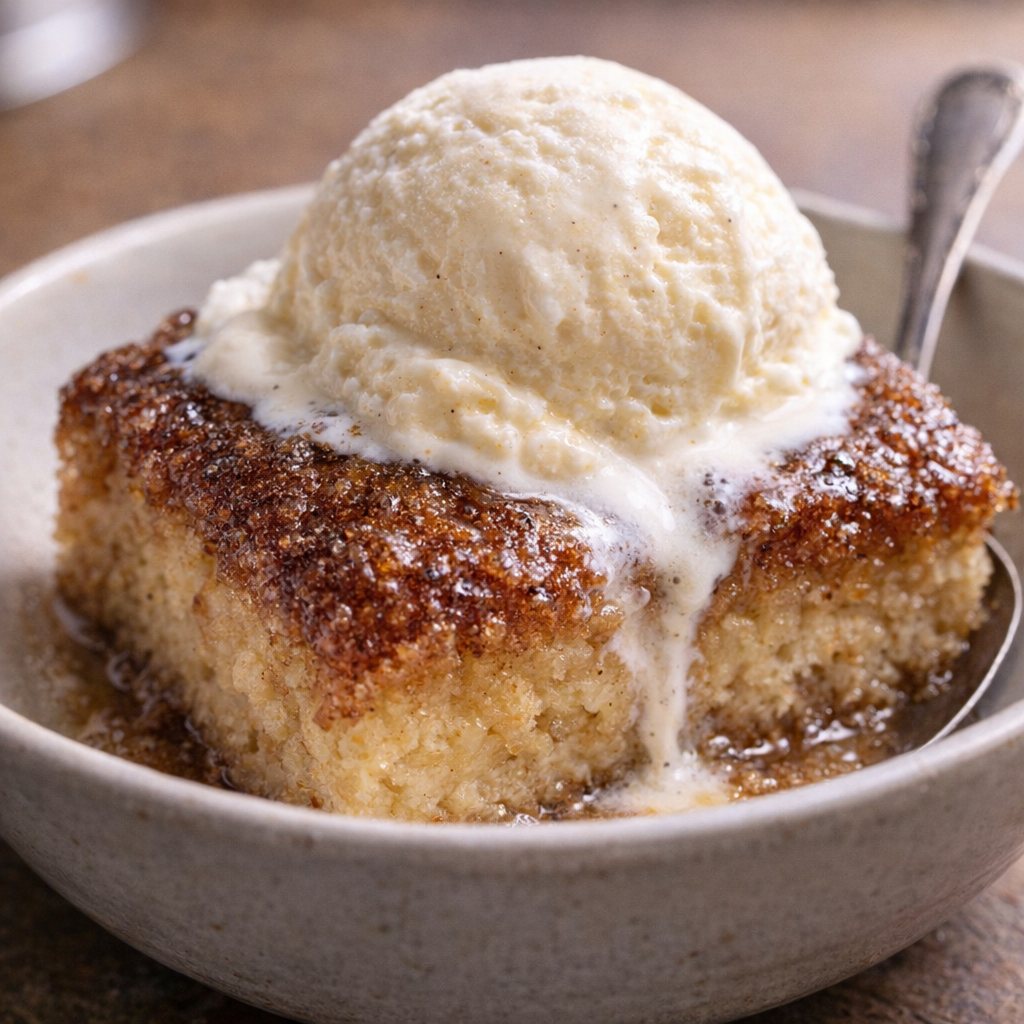
Serve these glazed sweet potato rounds warm right out of the slow cooker or transferred to a white serving platter so the glossy glaze can really shine. They pair beautifully with ham, roasted chicken, or a simple pot roast at a church potluck or family holiday meal. Add something green on the side, like a crisp salad or steamed green beans, to balance the sweetness. For a more casual spread, they’re great alongside sliders, deviled eggs, and a pan of rolls—people will treat them like both a side dish and a dessert.
4-Ingredient Slow Cooker Palm Sunday Glazed Sweet Potatoes
Servings: 8-10
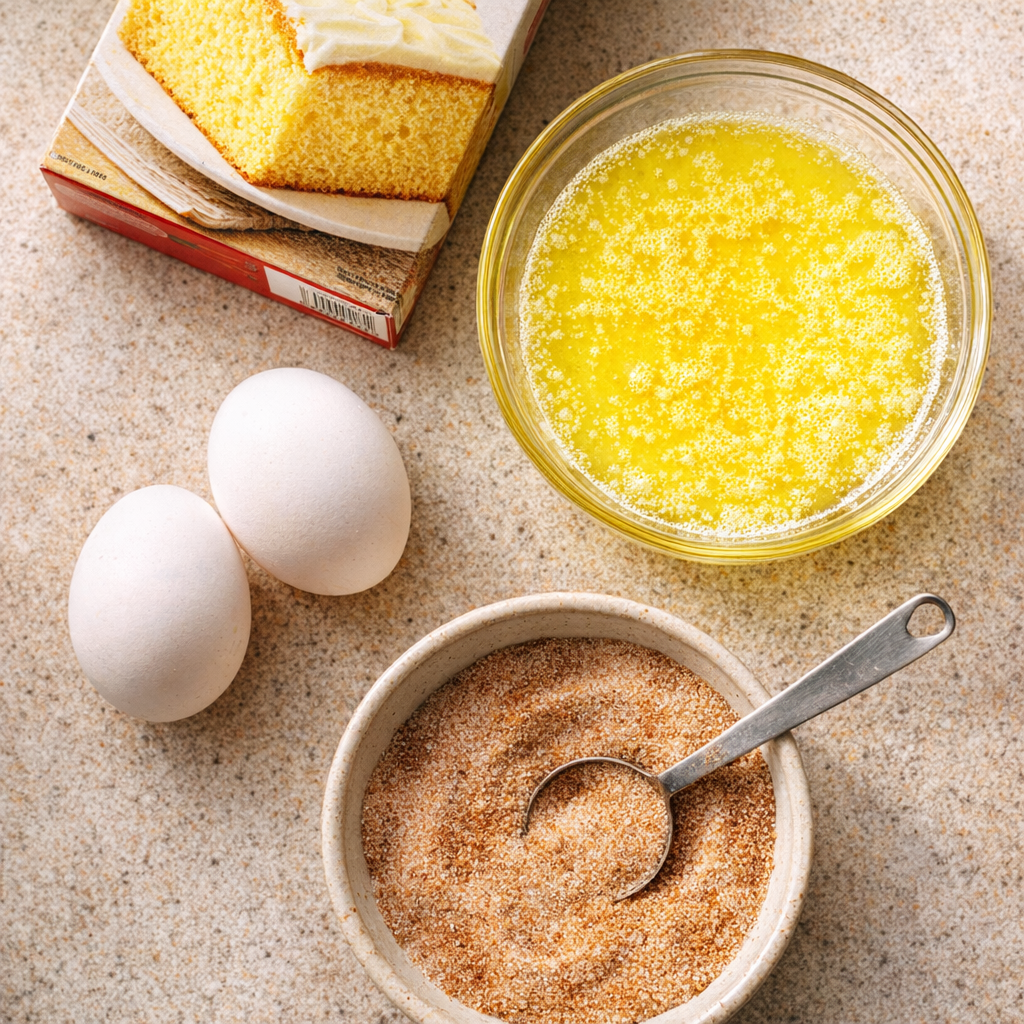
Ingredients
3 pounds garnet sweet potatoes, peeled and cut into 3/4-inch thick rounds

Directions
Prep the sweet potatoes: Peel the garnet sweet potatoes and slice them into thick 3/4-inch rounds. The thicker slices help them hold their shape and look pretty and caramelized on a platter instead of turning mushy.
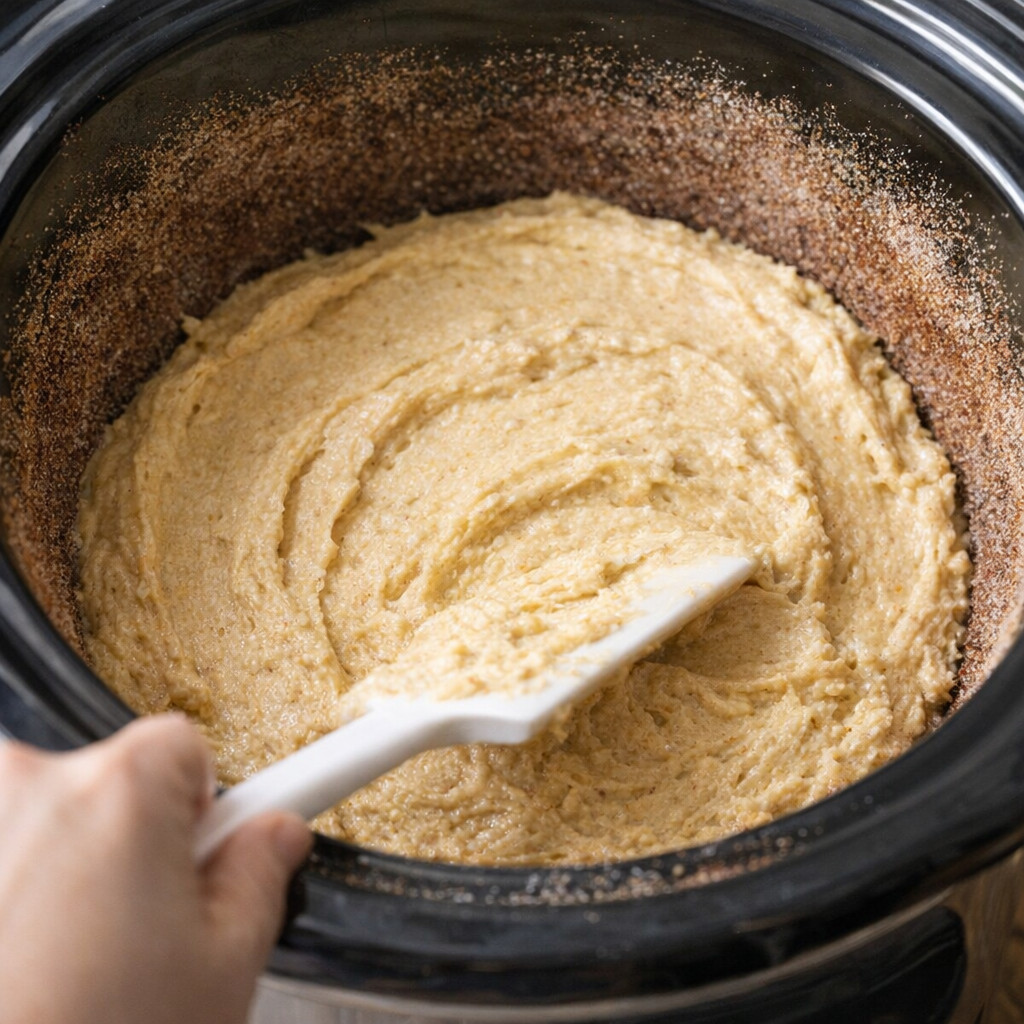
Grease the slow cooker: Lightly coat the inside of a 5- to 6-quart slow cooker with nonstick spray or a thin layer of butter to help prevent sticking and make cleanup easier.
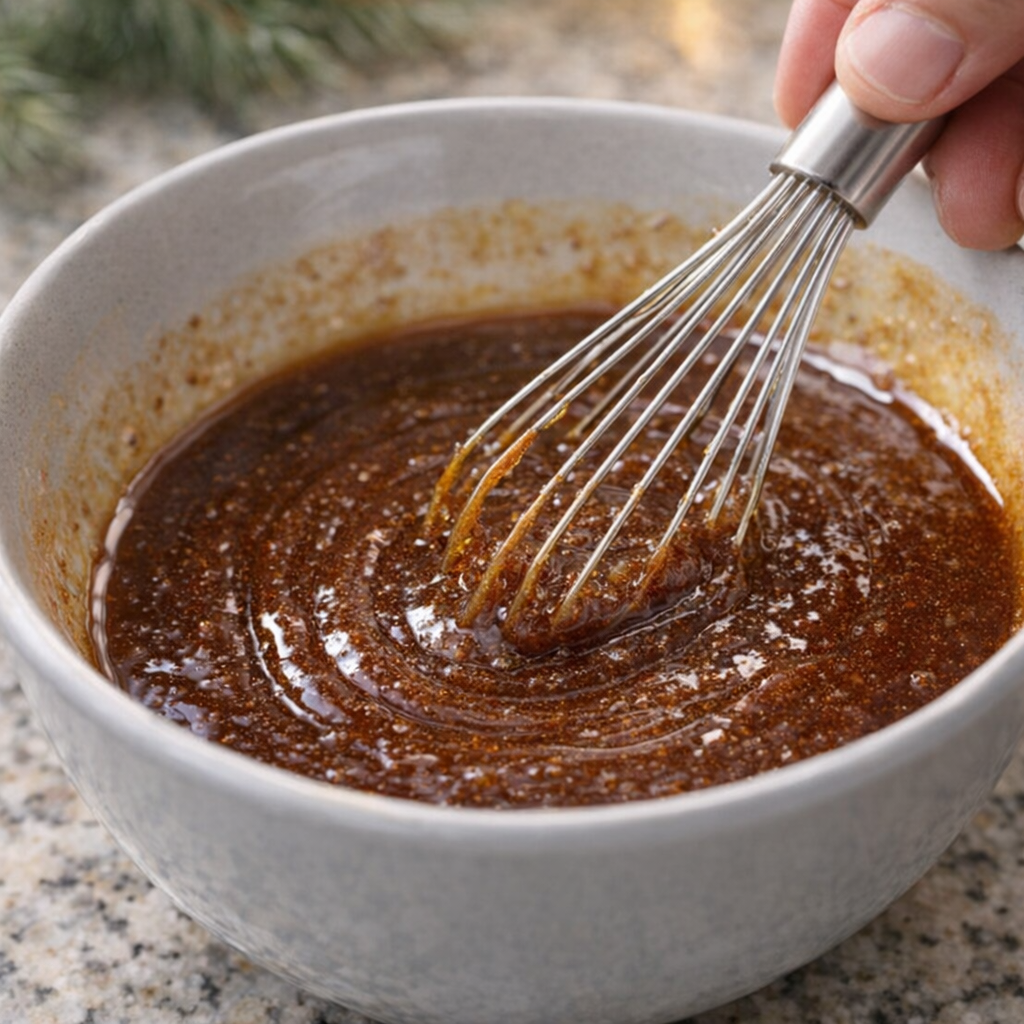
Make the glaze: In a medium bowl, whisk together the melted butter, brown sugar, and ground cinnamon until you have a smooth, glossy mixture. If you like, add a small pinch of salt to balance the sweetness.
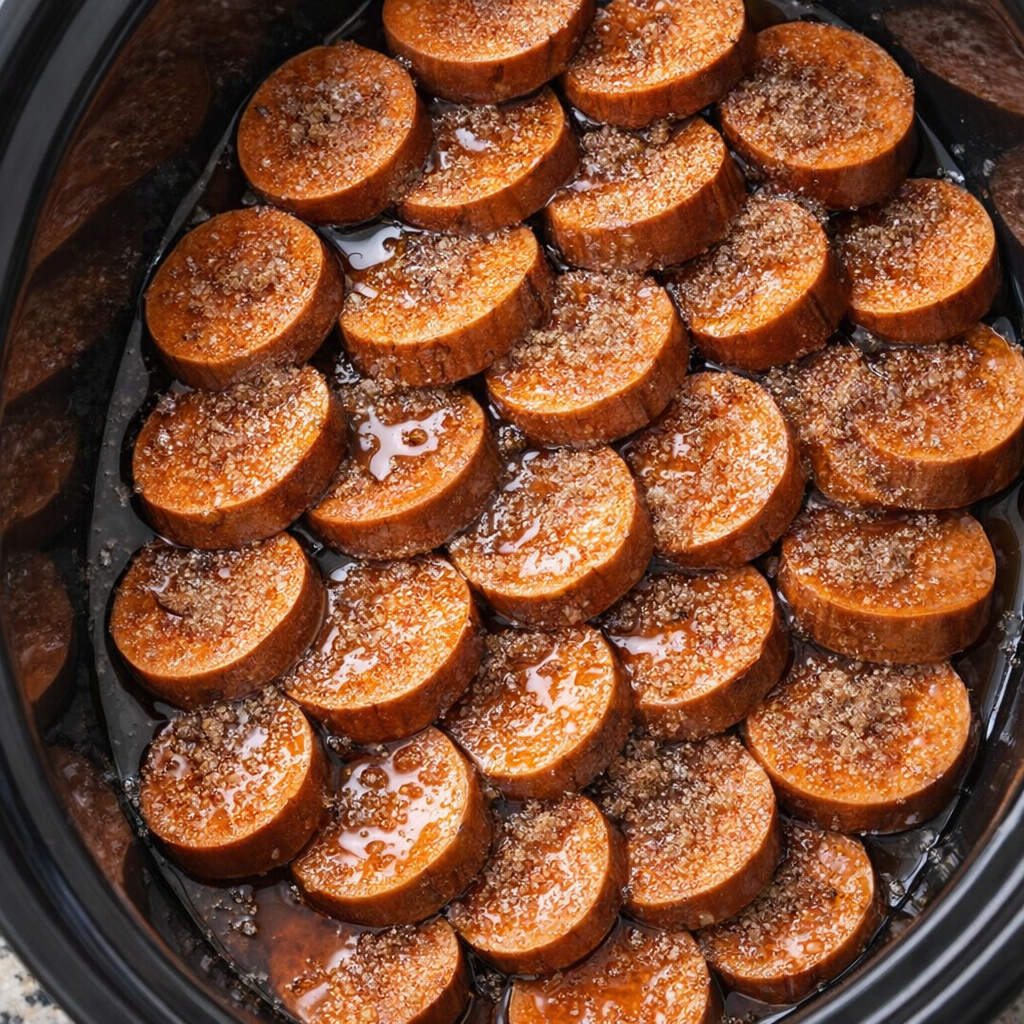
Layer the sweet potatoes: Arrange a single, slightly overlapping layer of sweet potato rounds in the bottom of the slow cooker. Spoon a few tablespoons of the glaze over the layer. Repeat with remaining sweet potatoes and glaze, finishing with a generous amount of glaze on top so every slice gets coated as it cooks.
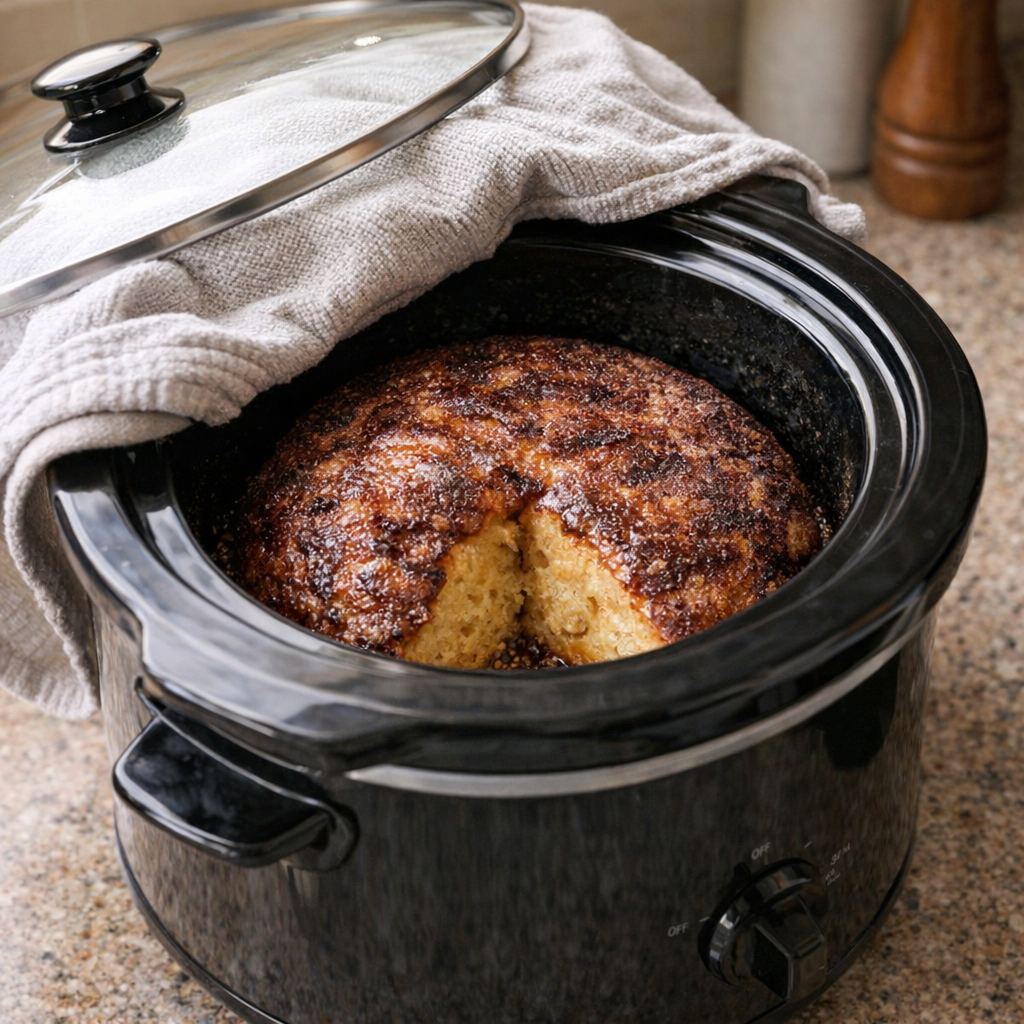
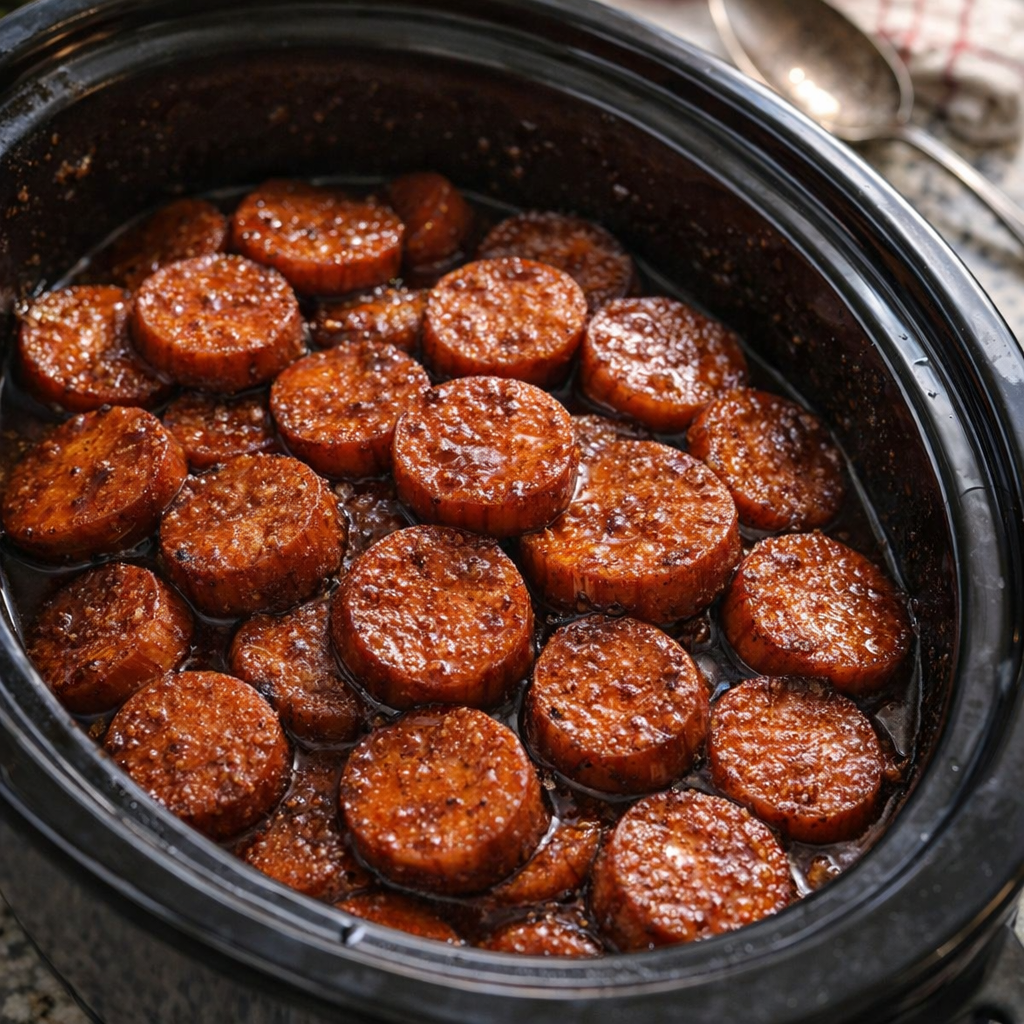
Slow cook: Cover and cook on LOW for 3 1/2 to 4 hours, or until the sweet potatoes are tender when pierced with a fork but still holding their round shape. Avoid stirring during cooking so the rounds don’t break apart.
Thicken and coat with glaze: Once the sweet potatoes are tender, gently tilt the lid so condensation doesn’t drip back into the crock, then remove it. Carefully spoon the hot glaze from the bottom over the top rounds to make them extra glossy. If the glaze seems thin, leave the lid off and let the sweet potatoes sit on WARM or LOW for 10–15 minutes; the glaze will thicken slightly as it stands.
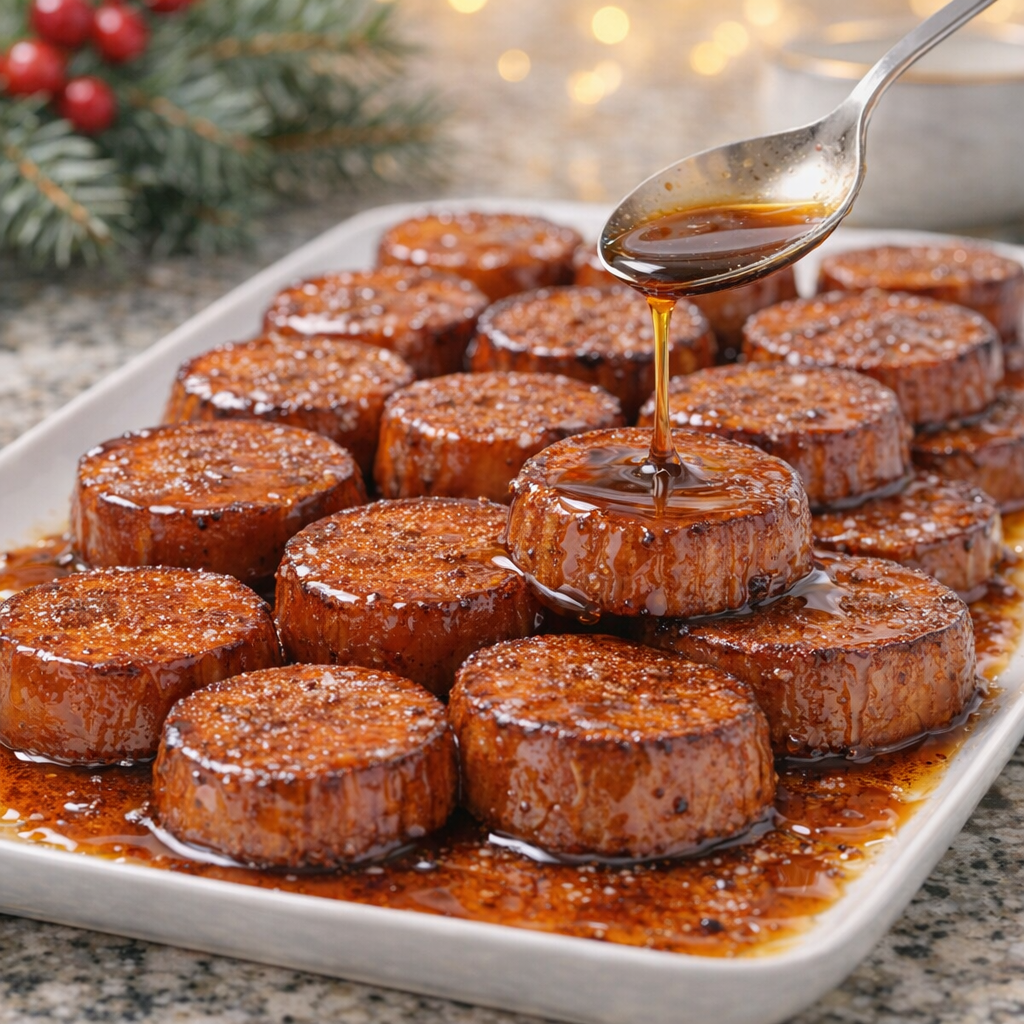
Serve for that potluck “wow” factor: For a church potluck or holiday table, use a slotted spatula to transfer the sweet potato rounds in neat rows onto a white serving platter so the caramelized edges and shiny glaze are visible. Spoon some of the remaining glaze over the top. Serve warm and be ready for recipe requests in the parking lot.
Variations & Tips
Make-ahead tip: You can peel and slice the garnet sweet potatoes the night before and store them in a large bowl of cold water in the fridge. In the morning, drain and pat them dry, then proceed with the recipe—this is a lifesaver when you’re trying to get kids dressed and a dish to church on time.
Extra-caramelized edges: For a more “oven-roasted” look like a food photo, transfer the cooked rounds to a parchment-lined baking sheet and broil on the top rack for 2–4 minutes, watching closely, just until the edges deepen in color and the glaze bubbles.
Orange twist: Replace 2 tablespoons of the melted butter with 2 tablespoons of orange juice and add 1/2 teaspoon of grated orange zest to the glaze for a bright, citrusy note that still feels very holiday.
Warm spice version: Swap half of the cinnamon for pumpkin pie spice or add a pinch of nutmeg or cloves for a more complex, cozy flavor—great for Christmas or Thanksgiving potlucks.
Extra-saucy: If your crowd loves lots of glaze, increase the brown sugar to 1 1/4 cups and the butter to 6 tablespoons; cook time stays the same, but you’ll have more syrup to spoon over the platter.
Dairy-free: Use a dairy-free stick butter substitute in place of the butter; the flavor will be slightly different, but the sweet potatoes will still turn out tender and glossy.
Leftovers: Store leftovers in an airtight container in the fridge for up to 4 days. Reheat gently in the microwave or covered in a low oven, adding a splash of water if needed to loosen the glaze.